I finally got the chance to cook another pig underground. It's been awhile and things just fell into place for me to get this done.
(for the few that are not aware that there is more than one way to cook an underground pig)
This is the western Okie way to cook an underground pig.... not the Hawaiian way. NO banana leaves... I use wet burlap feed sacks and baling wire to lift the pig in and out of the ground.
This method has been working for years.
I had a friend dig the pit with a backhoe...


This is the same spot I cooked the last one....
the pit was about 4ft deep.
Just make sure it's big enough for your pig plus a 1 and 1/2 ft or more bed of hot coals....

The pig I've been preparing for the last few weeks....


This is where your tenderloins come from... on either side of the spine on the inside of the pig..

Dehairing the pig with a blow torch.... you can skin the pig or scald and scrape..
Another method is lay the pig on a bed of straw then light the straw to burn the hair off...

Scrub and wash the pig....

Place on ice til needed...

Then start burning your wood. You need to use hardwood. Burn enough wood to make a bed of hot coals that are at least one foot deep. The deeper the better. You want the hot coals to cook the pig all night.


I injected the pig with a mixture of beef broth, onion and garlic powder and a bit of cayenne...
Then stuffed the cavity with onions, apples, whole heads of garlic, and jalapenos.

Also sprinkled the whole pig with a dry rub....

wrap the pig in a layer of foil, then burlap, then chicken wire.....

sew the chicken wire closed with baling wire and make LONG baling wire handles to help lower the pig into the pit and to help get the tender pig out when cooked....

Wet the burlap with water......

lay a grate on the hot coals. I like to lift the ends a bit with blocks....

lay some burned tin on the grate. This tin was saved from the last 3 pigs cooked underground. Do not use galvanized tin, but if you have to, make sure you burn it well before using.

Placed the seasoned, wrapped pig in the pit.....

Cover the hole.... I used some metal "lids" that I had on hand.. They are bare metal on the bottom, (do not use anything painted on the bottom)...

Then cover the whole thing with dirt. Make sure there is no smoke escaping... pile dirt especially around the edges to keep all air out of the hole.

Also sprinkled the whole pig with a dry rub....

wrap the pig in a layer of foil, then burlap, then chicken wire.....

sew the chicken wire closed with baling wire and make LONG baling wire handles to help lower the pig into the pit and to help get the tender pig out when cooked....

Wet the burlap with water......

lay a grate on the hot coals. I like to lift the ends a bit with blocks....

lay some burned tin on the grate. This tin was saved from the last 3 pigs cooked underground. Do not use galvanized tin, but if you have to, make sure you burn it well before using.

Placed the seasoned, wrapped pig in the pit.....

Cover the hole.... I used some metal "lids" that I had on hand.. They are bare metal on the bottom, (do not use anything painted on the bottom)...
Then cover the whole thing with dirt. Make sure there is no smoke escaping... pile dirt especially around the edges to keep all air out of the hole.
Air in the hole will cause flair ups and the meat will burn.

Let the pig cook at least 12 hours...

Check the pigs temperature with an instant read thermometer if needed....

Lift the pig out of the pit using the baling wire handles....

The meat is so tender and juicy.....

By cooking the pig on it's back, the skin holds in the juices....


I sprinkled some of the pork with a dry rub and served several sauces on the side....


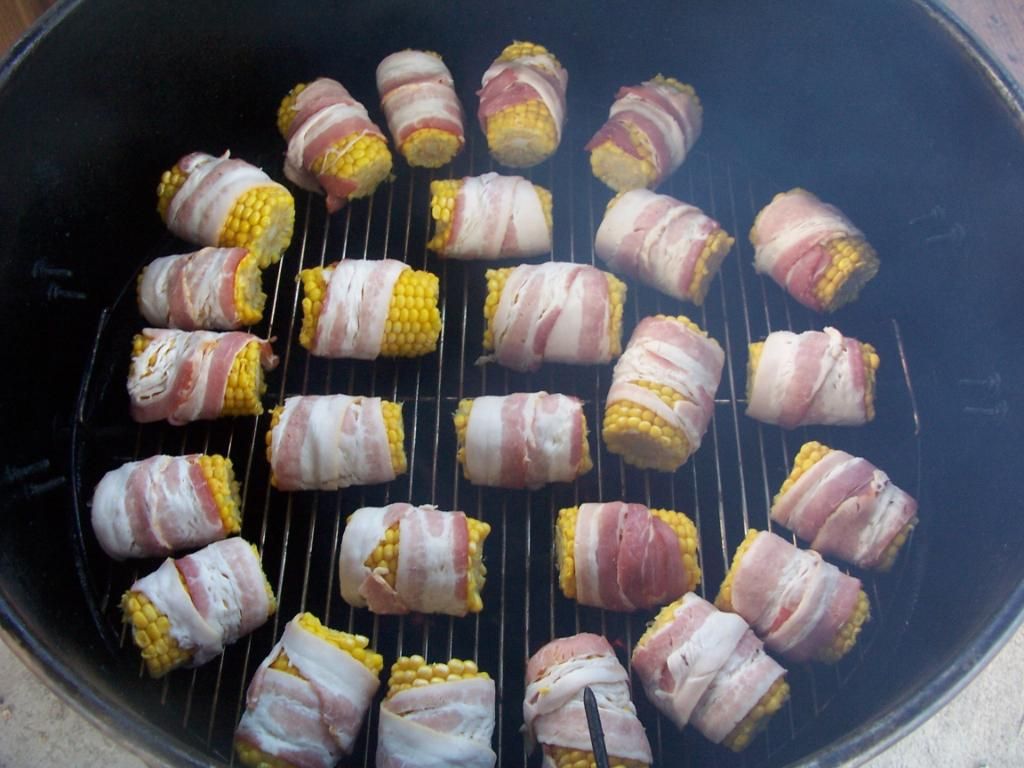
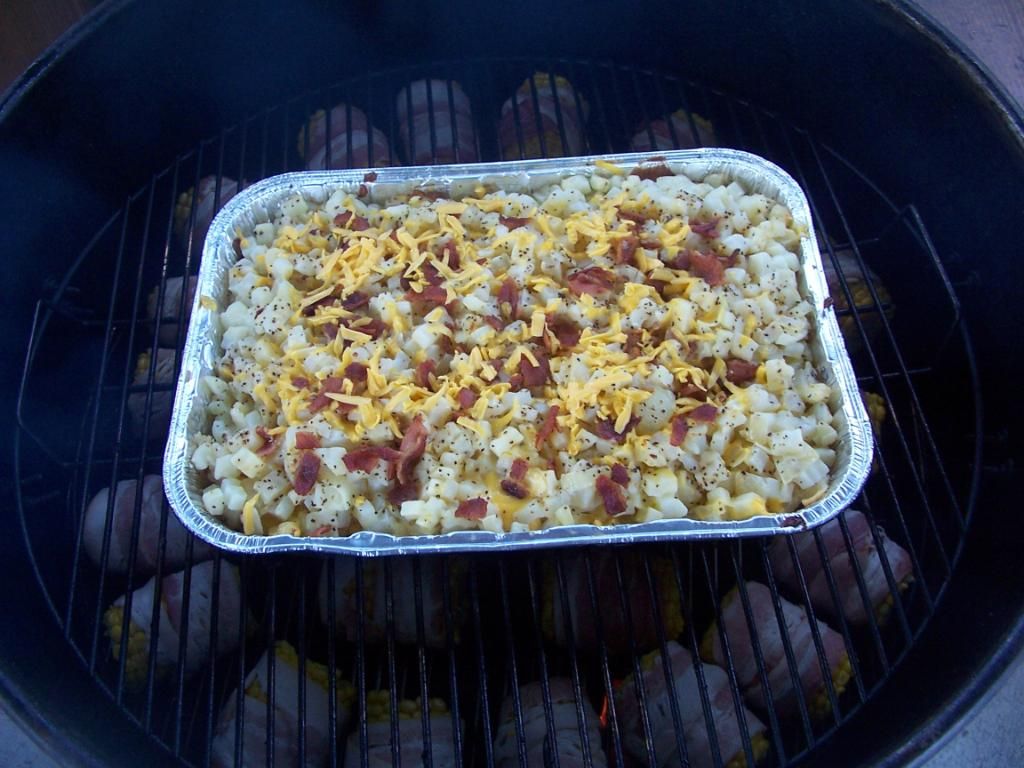
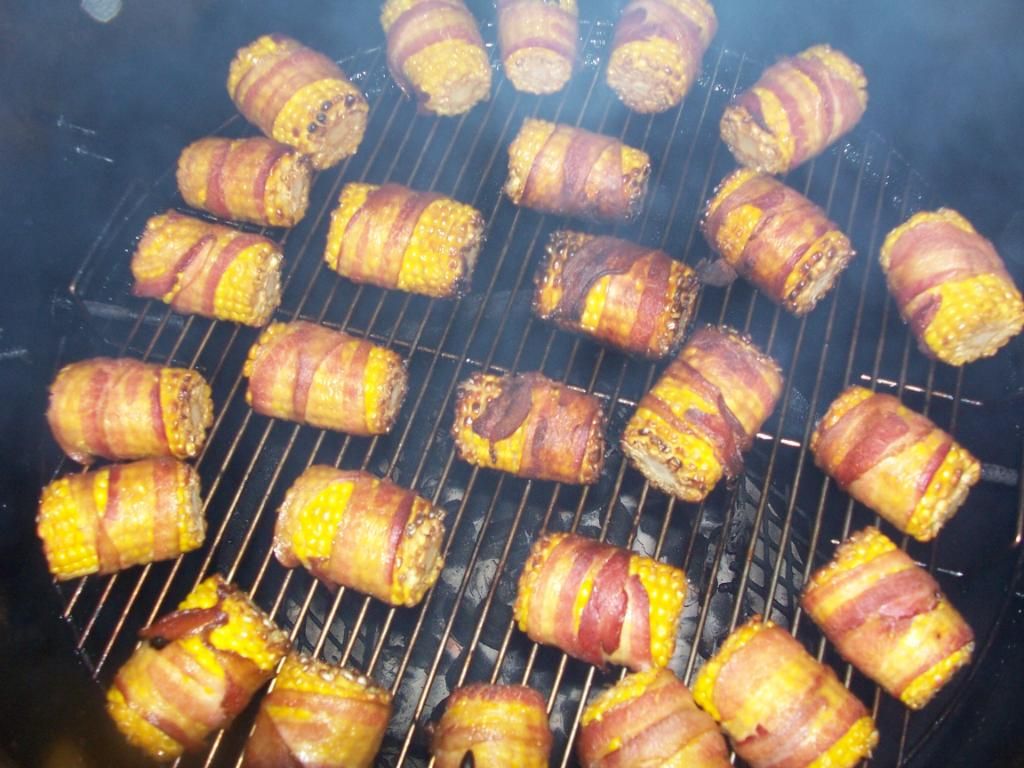
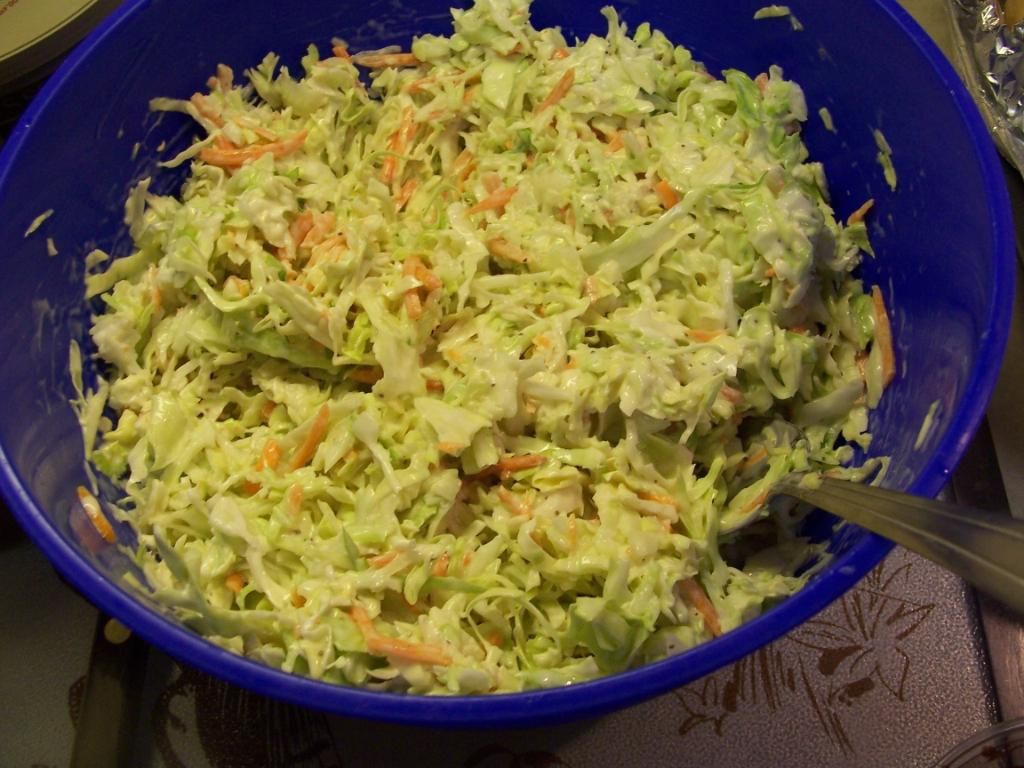
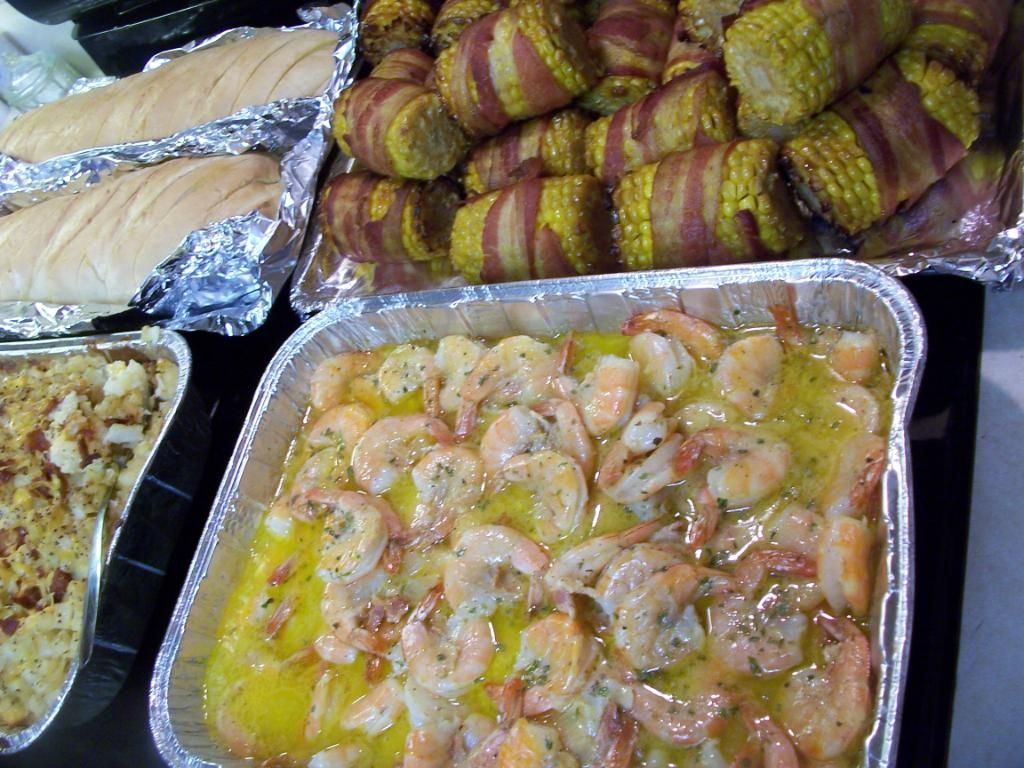
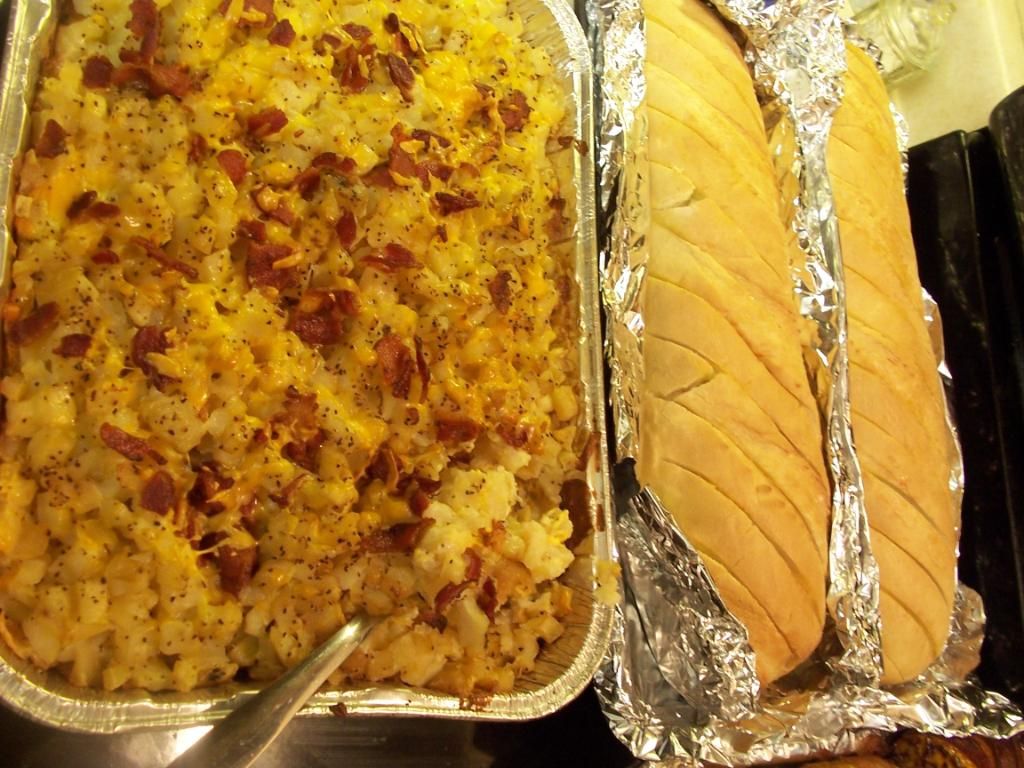
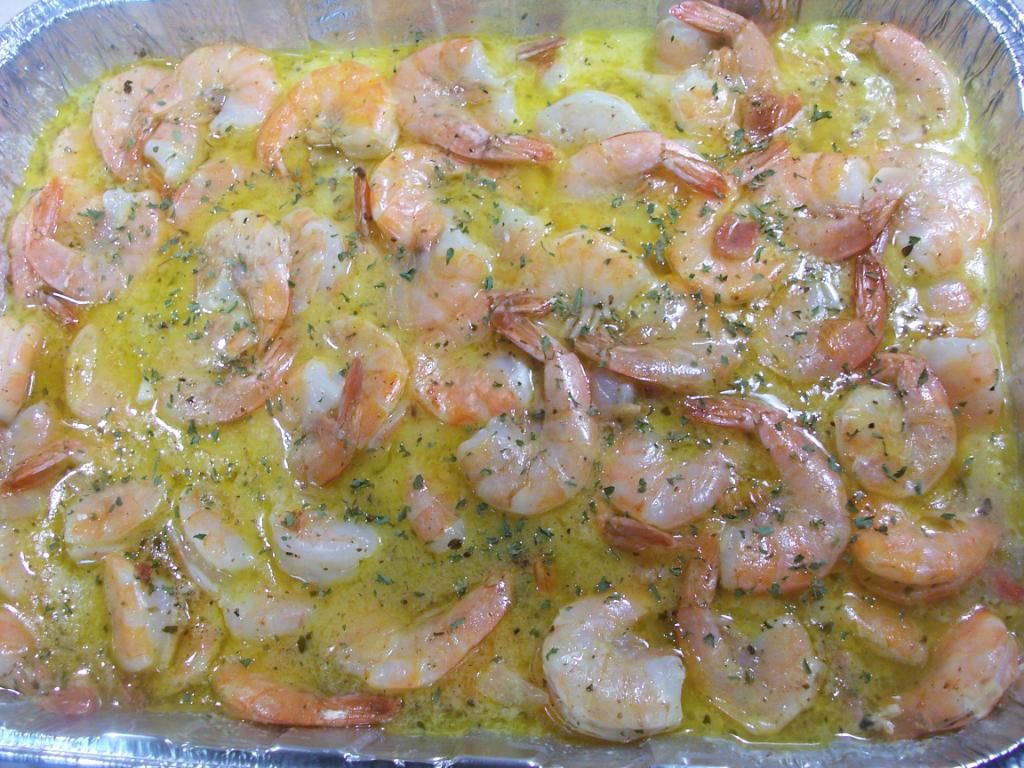
The pork with bacon wrapped corn, smoked tatoes, spicy shrimp, slaw, pinto beans, sauce and a cold beer. I forgot to get some garlic bread. (there was no way I could eat this plate full anyway:))


It was tasty and fun. :)
Let the pig cook at least 12 hours...

Check the pigs temperature with an instant read thermometer if needed....

Lift the pig out of the pit using the baling wire handles....

The meat is so tender and juicy.....

By cooking the pig on it's back, the skin holds in the juices....


I sprinkled some of the pork with a dry rub and served several sauces on the side....


The pork with bacon wrapped corn, smoked tatoes, spicy shrimp, slaw, pinto beans, sauce and a cold beer. I forgot to get some garlic bread. (there was no way I could eat this plate full anyway:))


It was tasty and fun. :)

.png "English")




 Posts
Posts