Search Feature

Wednesday, November 27, 2013

Wild Rice Dressing...just in time for Thanksgiving


One of my favorite things about a Thanksgiving feast is the dressing. Not sure if I've ever met a dressing that I didn't like! For a change of pace from regular seasoned bread or cornbread dressings, I make a wild rice dressing that would be great along side of a Thanksgiving turkey.
I made this over the campfire with some fire grilled venison steaks and quail. It was pretty danged tasty! It can easily be made on a grill, in an oven or on your stove top.
The kind folks at Char-Broil asked if I would share a "cowgirl" dressing recipe with them. This is the one that came to mind first.
Wild Rice Dressing
 If you get the time, please take a peek at my post. Most of you already know I'm not a writer, so don't expect anything fancy. :) 

Deer season is in full swing here. Have a house full of people and a couple of deer hanging. I've been busy cooking, eating and spending time visiting with everyone.  Deer camp with friends only happens one week out of the year so I enjoy every second of it. :)

Hope to catch up on emails and posts here after the week is up.
Happy Thanksgiving to every one!!


Thursday, November 21, 2013

A Plump Farmyard Hen on the Drum


Looks tasty doesn't it. lol


Gave my new  homemade chicken plucker   a try the other day and processed some meat chickens. It worked great and saved me SO much time.


Sometimes it's not easy raising your own meat, but it's a part of country life. The animals are treated well and the nourishment they give in return can't be compared to store bought.


I set the plucker up outside of the shop, close to the water hose.


Heated a tub of water to around 145F to 160F degrees... the temp went up a bit while simmering. The trick is to keep the water hot enough to loosen the feathers but not hot enough to cook the meat and make the skin soft.  Dunk the hens several times in the water, swishing them around. Then pull on a tail (or wing) feather, if it comes out easily, the bird is ready to pluck.


After dispatching the chickens, (I use the old tree stump-axe method) letting them bleed out and giving them a hot water bath, I turned the plucker on and dropped the hens in. I did these one at a time, the birds were huge!

Sprayed the bird with a water hose and used the hose to wash feathers from the inside of the plucker while it was running. The feathers and water drain out the bottom of the plucker.

This is where things got too busy for me to take pics. I had a bird in one hand and the water hose in the other. :/


The bottom rotates, tumbling the bird around removing all feathers...


about halfway through...
I turned the plucker off, dropped the hose and snapped a pic.


the plucked hen ready to process...


I save pretty much everything. What I do not use for food is bagged and frozen for shrimp, crawdad or fish bait.


I chill down the birds as soon as they are cleaned. I like to chill homegrown birds down at least overnight before packaging and freezing.


After chilling the birds overnight I remove any pin feathers, singe the fine hairs and wash the birds. Then dry and wrap them. I like to place something in the cavity of the bird to prevent freezer burn. Usually use a ball of foil or plastic wrap.
Then I wrap the birds and bag them.


These birds were huge. The smallest weighed in at 12 1/2 lbs (on the hoof) and the largest was 19lbs. "Life" got in the way of me processing them on schedule.  The birds are the size of turkeys but they taste great. lol

I cooked the smallest bird first. Spatchcocked then slathered it in butter (also placed butter under the skin) and sprinkled with Big Poppa's Money Rub. 


Cooked on the BPS drum at 325F until the juices ran clear...


The chicken took up most of the plate...


So I opted for a few slices of breast and thigh meat...


Not sure if it was the drum, the rub or the chicken (maybe a combo of all). This was the tastiest chicken I've had in a long time. Sooo moist and tender.


I was able to make chicken enchiladas, chicken salad sandwiches and chicken rice soup with the leftovers.  Definitely a "company" bird or a bird best served when there's plenty of help eatin' it.

The freezer is full of chicken, which is a good feeling. I might have to stew a bird or two up and make chicken and noodles for the winter. Would be handy to have on the shelf. :)

Monday, November 18, 2013

My Homemade Chicken Plucker :)


These chicken pluckers have been around for years. You can buy kits and plans online for several hundred dollars but they look so simple that I figured it would be easy to put one together myself with minimal cost.
So, the last few weeks I've been on the lookout for things that I might use to throw this thing together.

What I used.
1 plastic barrel.....already had it on hand
 2x4.....had on hand 
1x6 board.....leftover from another project
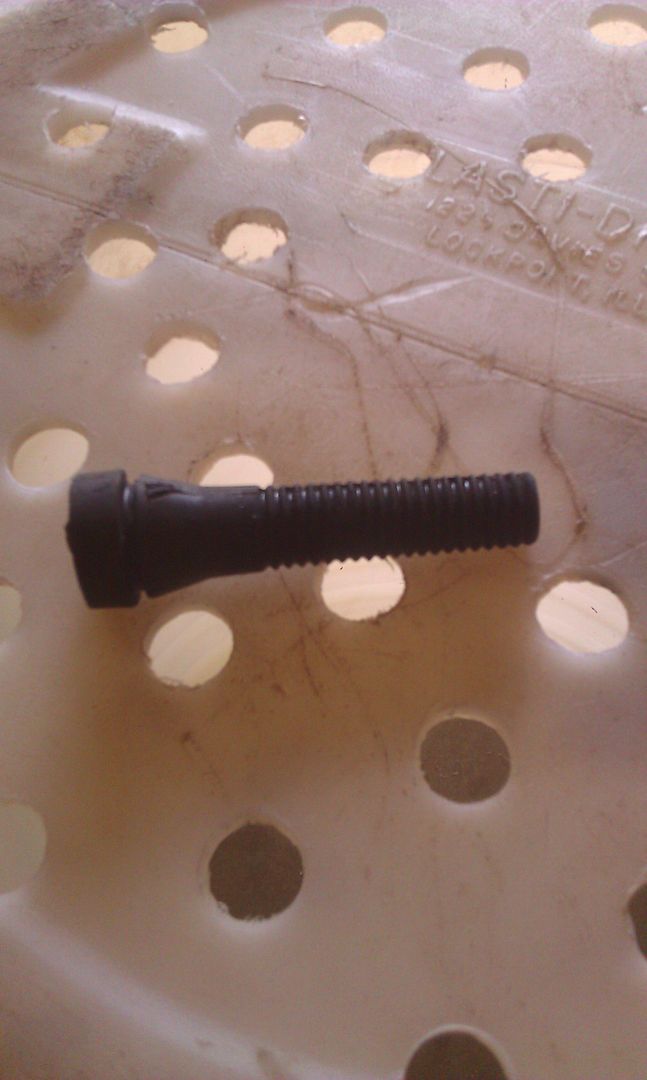
rubber fingers.... had to buy them. Used $32. worth (the most expensive part of the project) I had hoped to find something I could use in place of the fingers but I didn't have anything around the farm that would work.
 screws....had on hand
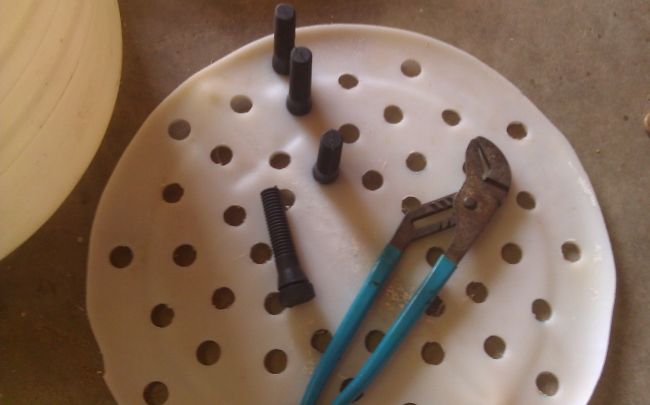
bolts and nuts..... $6.00
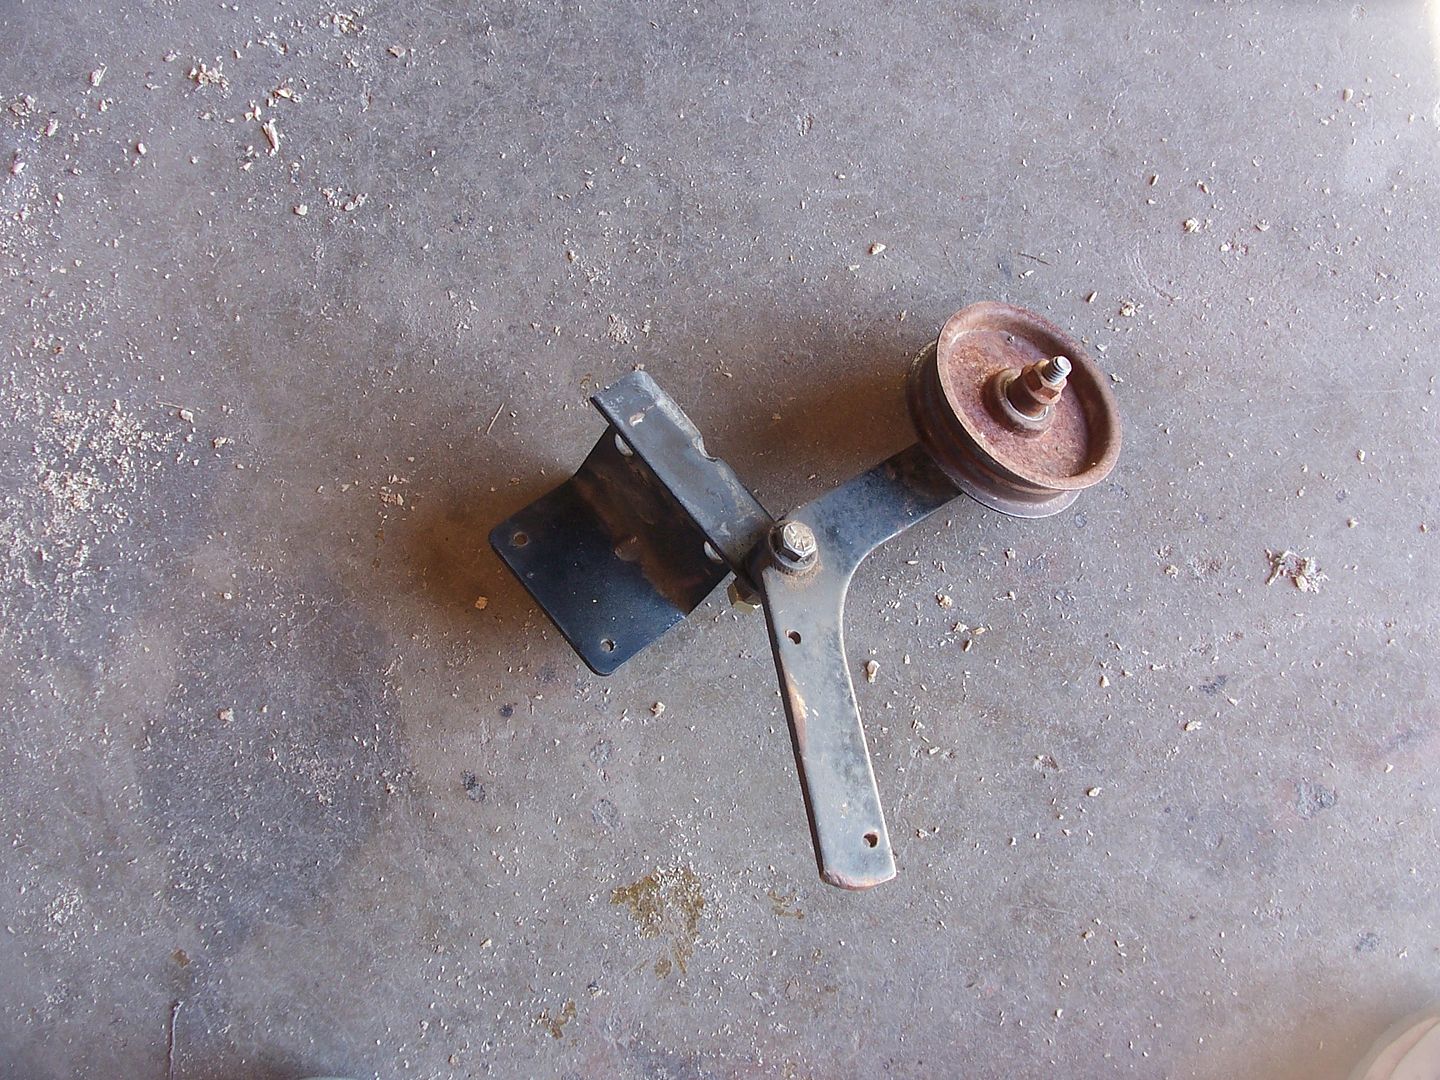
pulley, shaft and brackets......salvaged from an old swamp cooler
idler pulley.......salvaged from an old air compressor
1 hp motor.....salvaged from same old air compressor
belt.....had on hand
electric box and switch.....$10.
1 pizza pan.....$1.
Think that's all. :)
Total cost..... $49.  

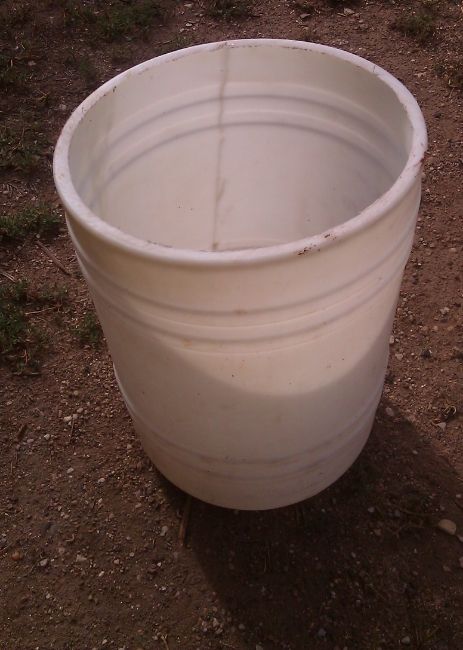
Started with the plastic barrel...


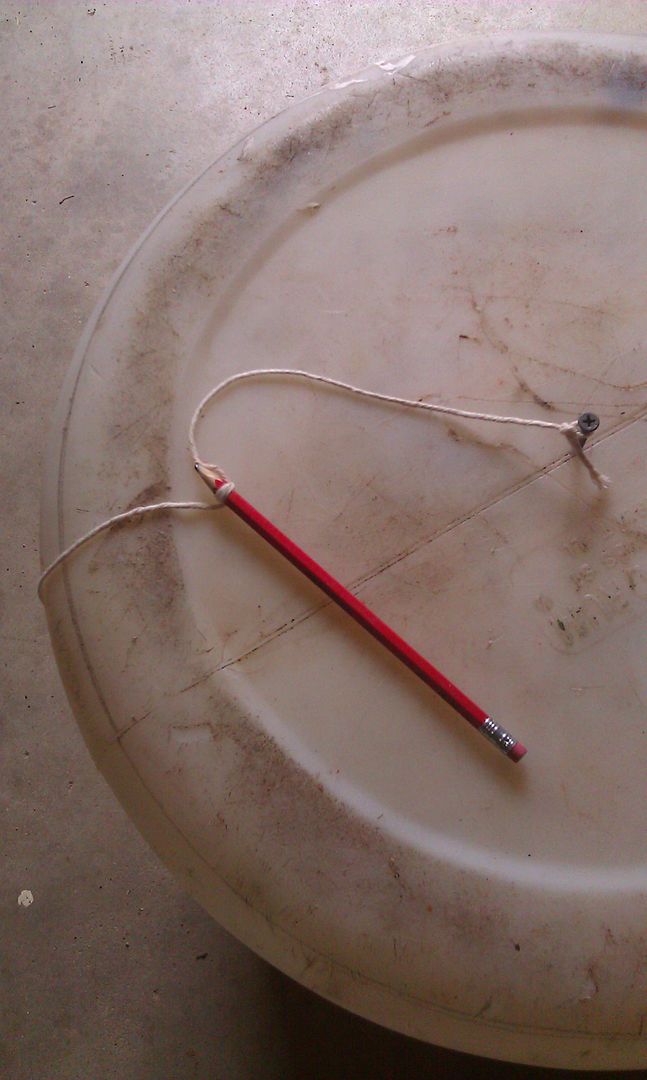
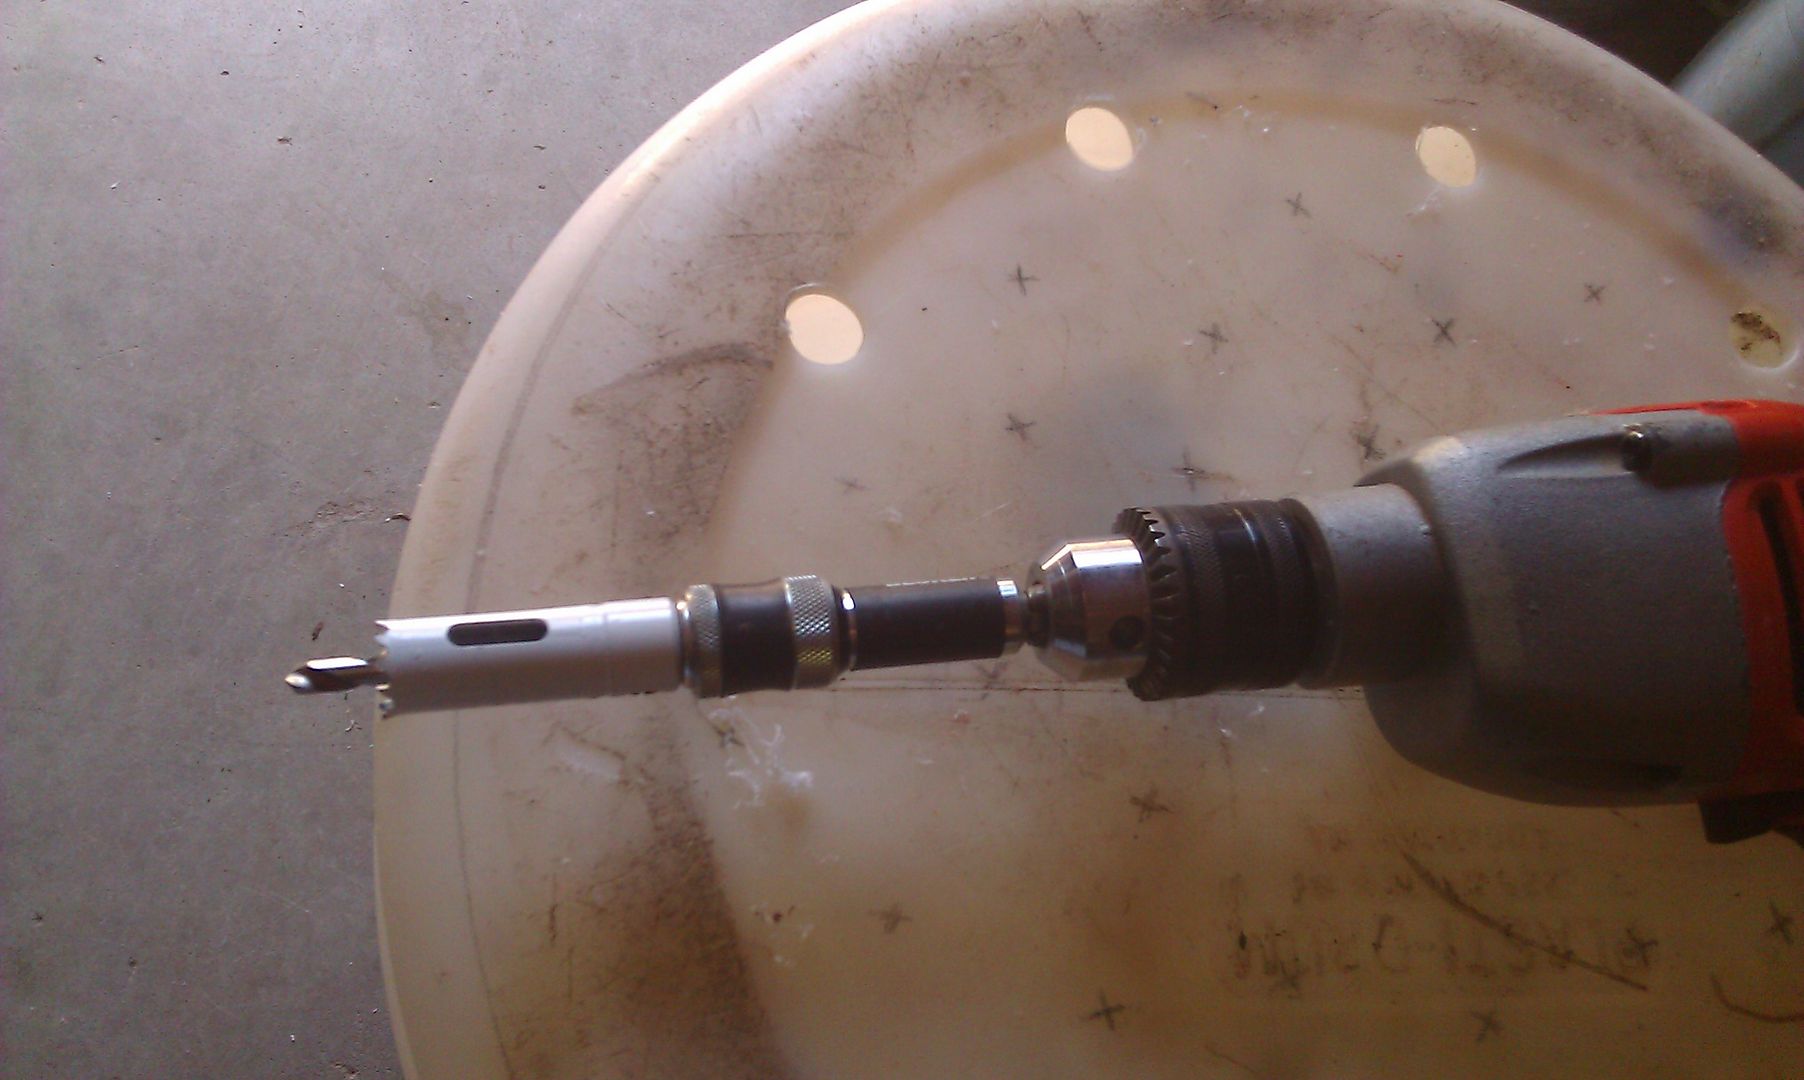
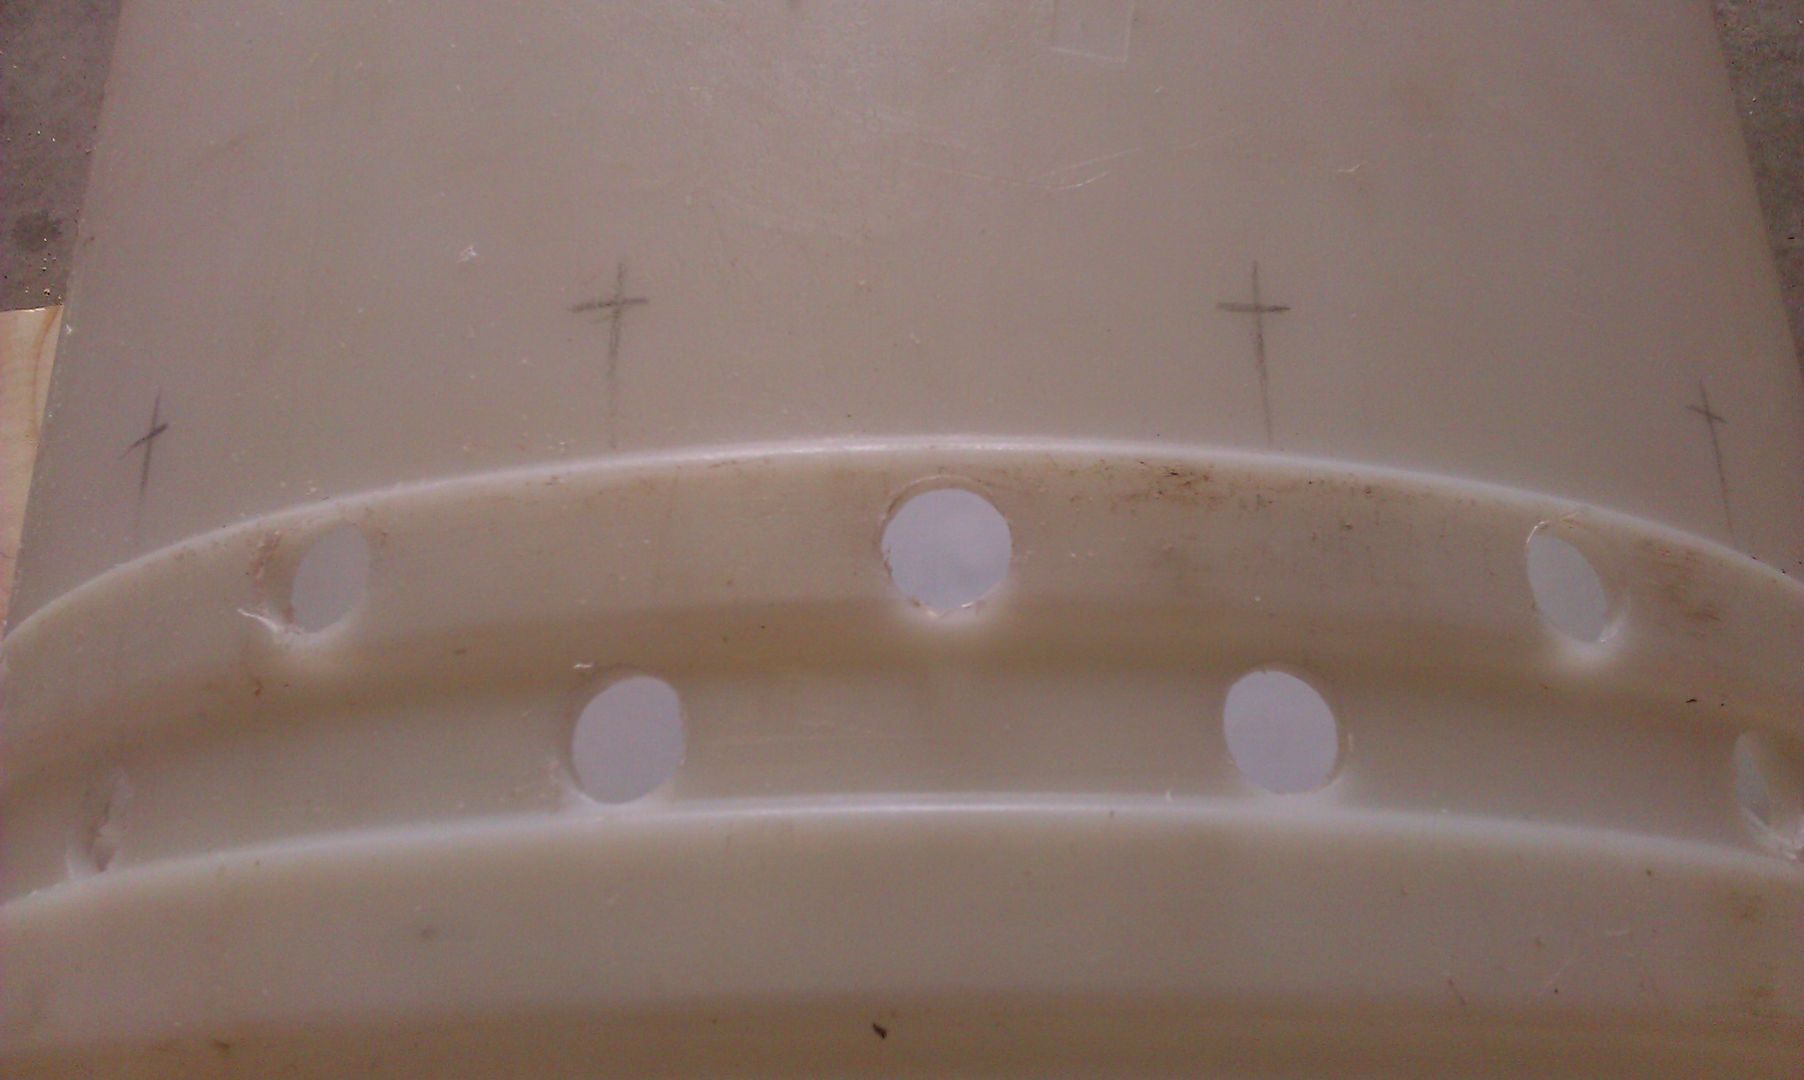
marked the bottom of the barrel where I wanted to drill holes for the "fingers" and where I wanted to cut the bottom of the barrel out.


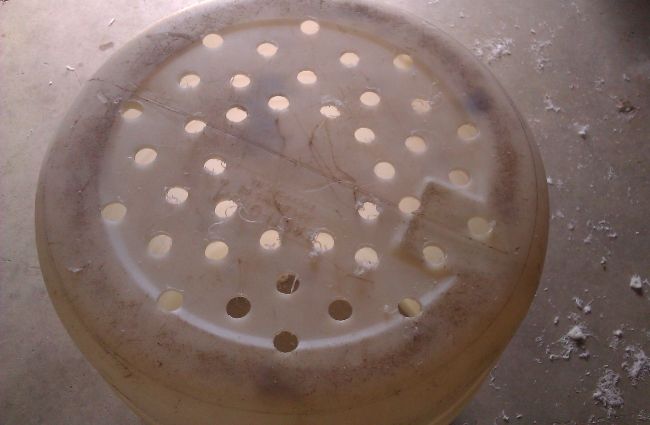
Cut the bottom of the barrel out....


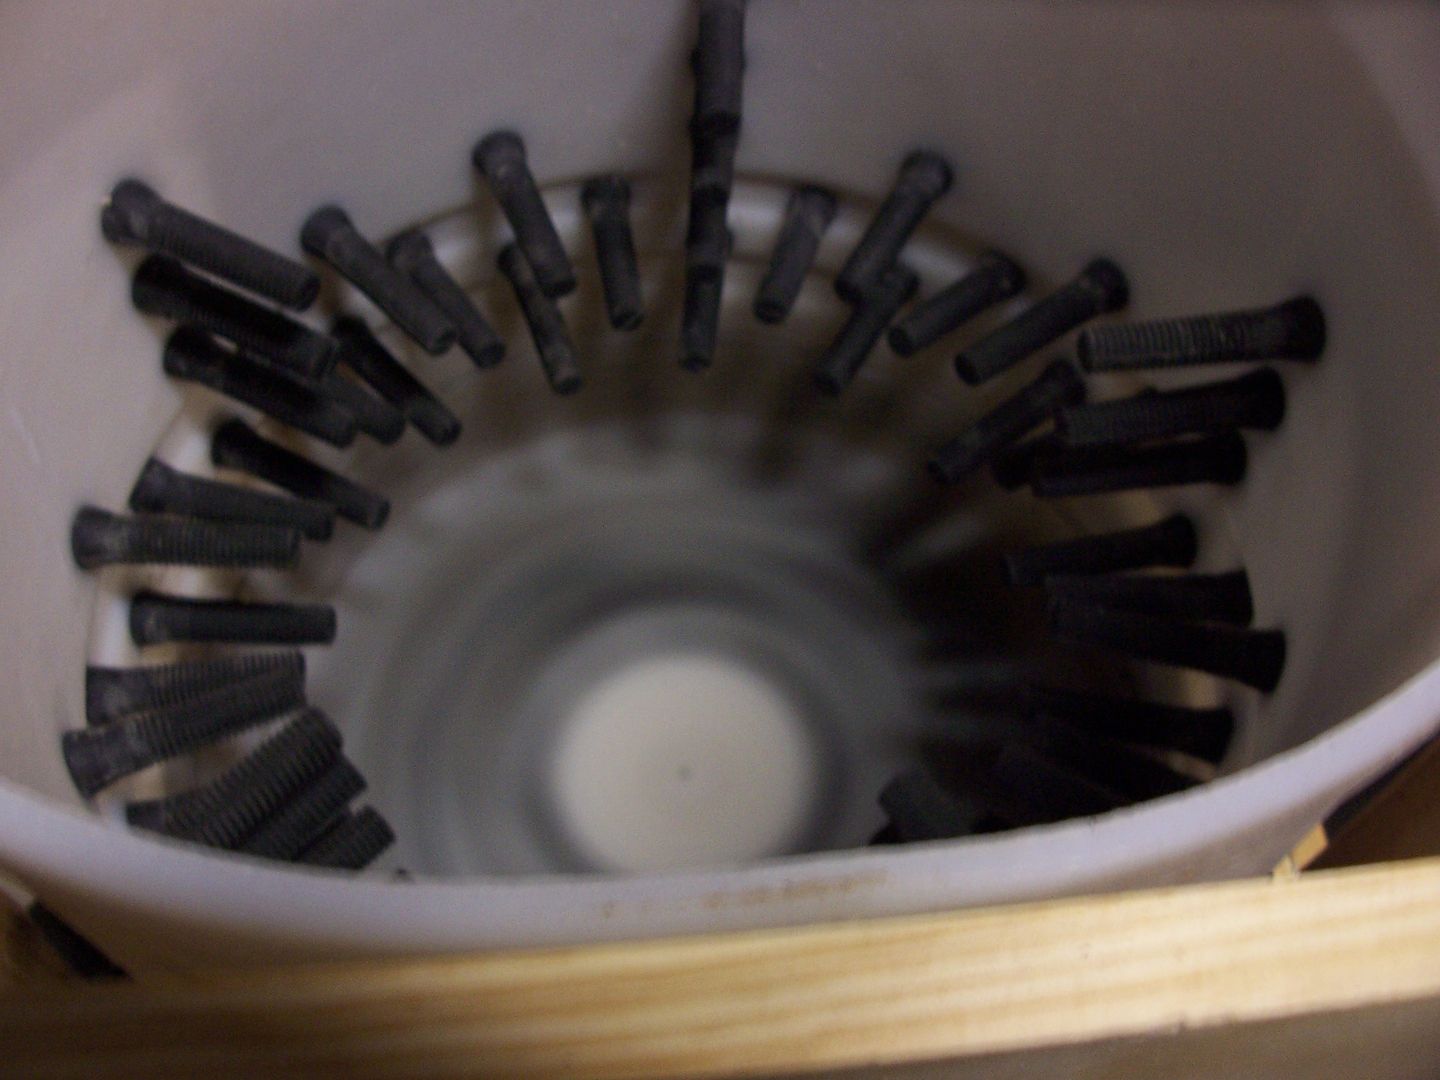
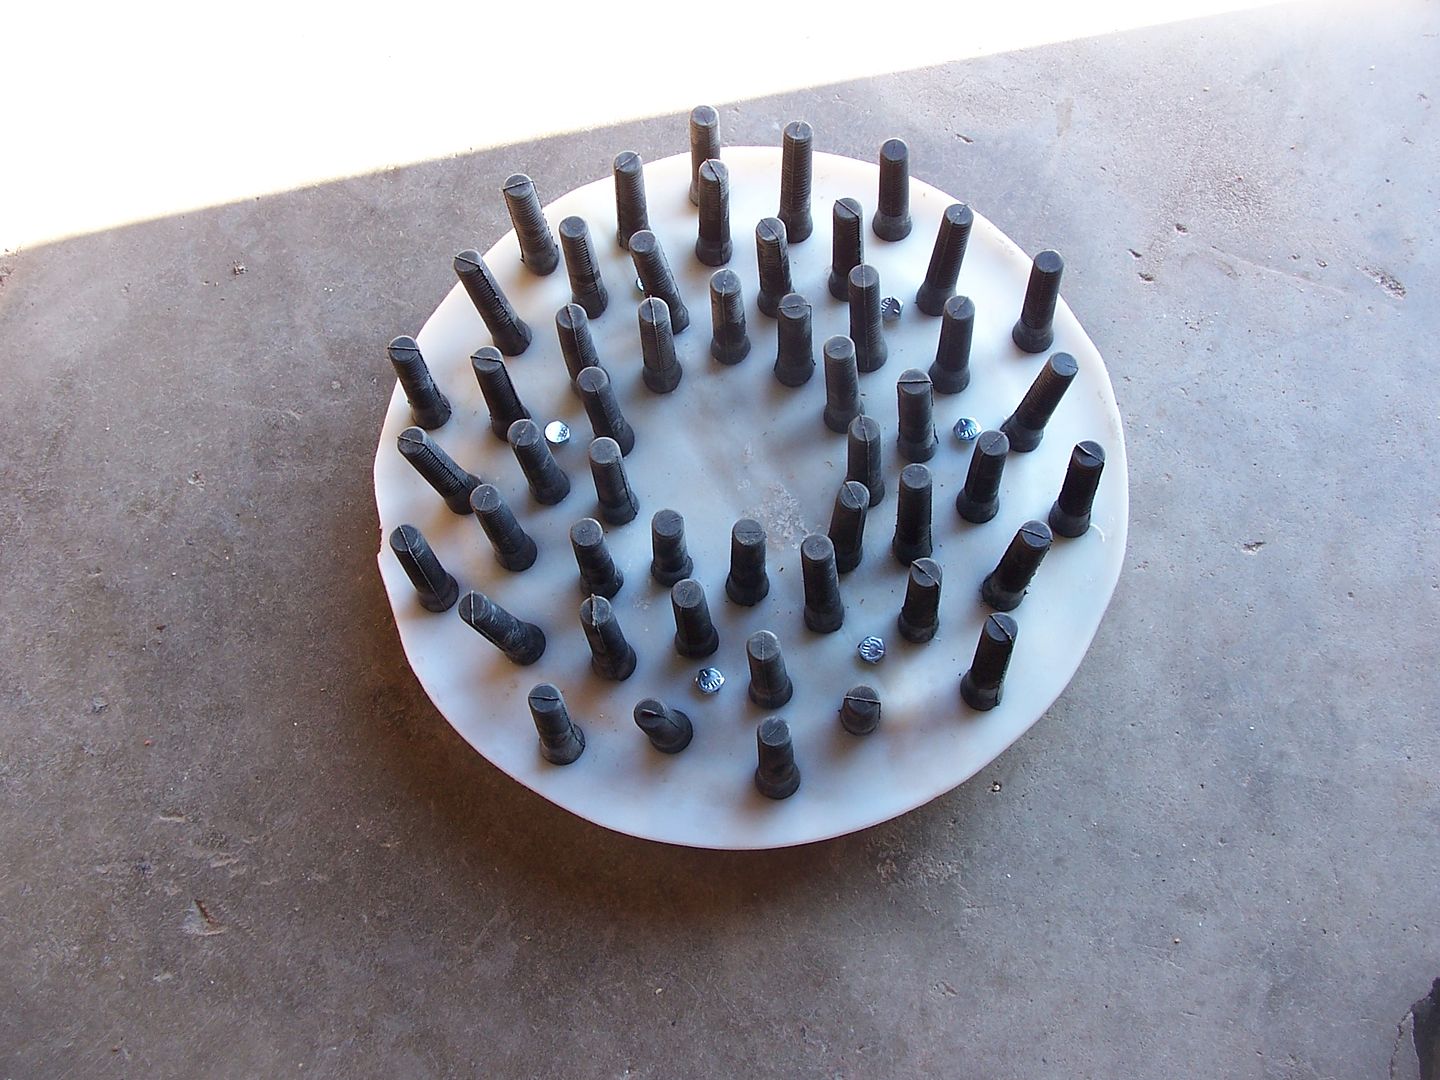
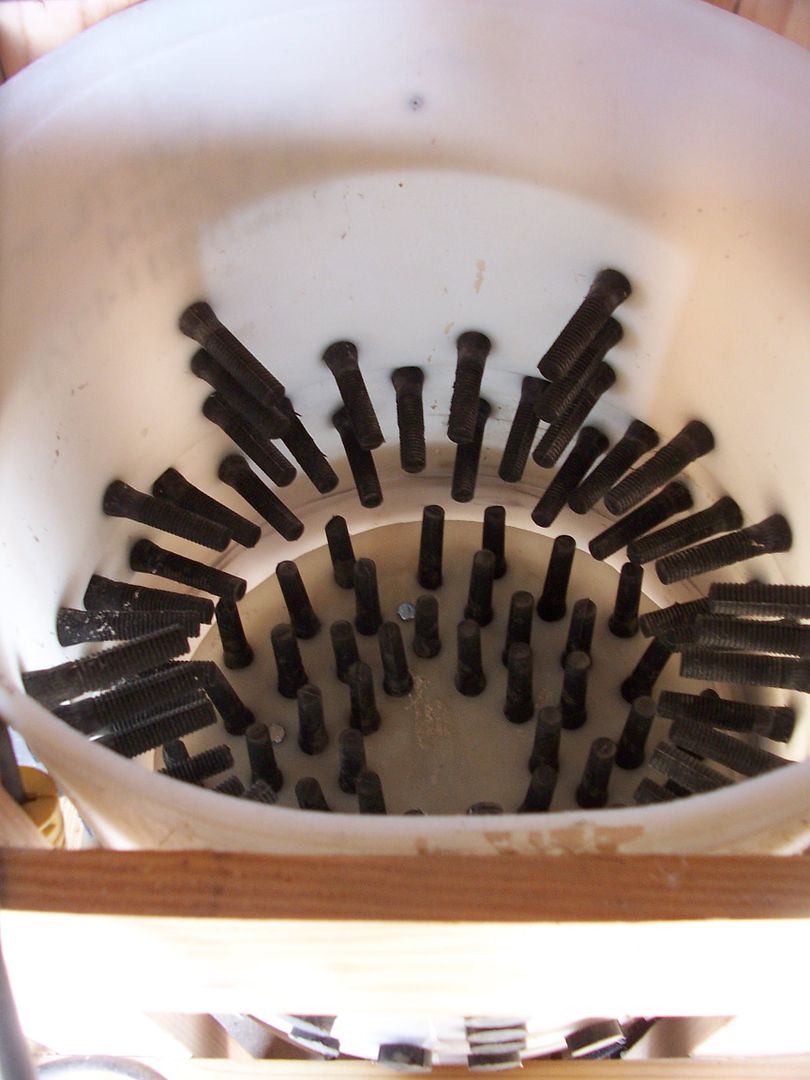
Started inserting the "fingers"...


Inserted the rubber "fingers" . They were easier to pull through the holes when oiled. I used vegetable cooking spray.   ( I could have used WD 40 but the cooking spray came to mind first. lol )


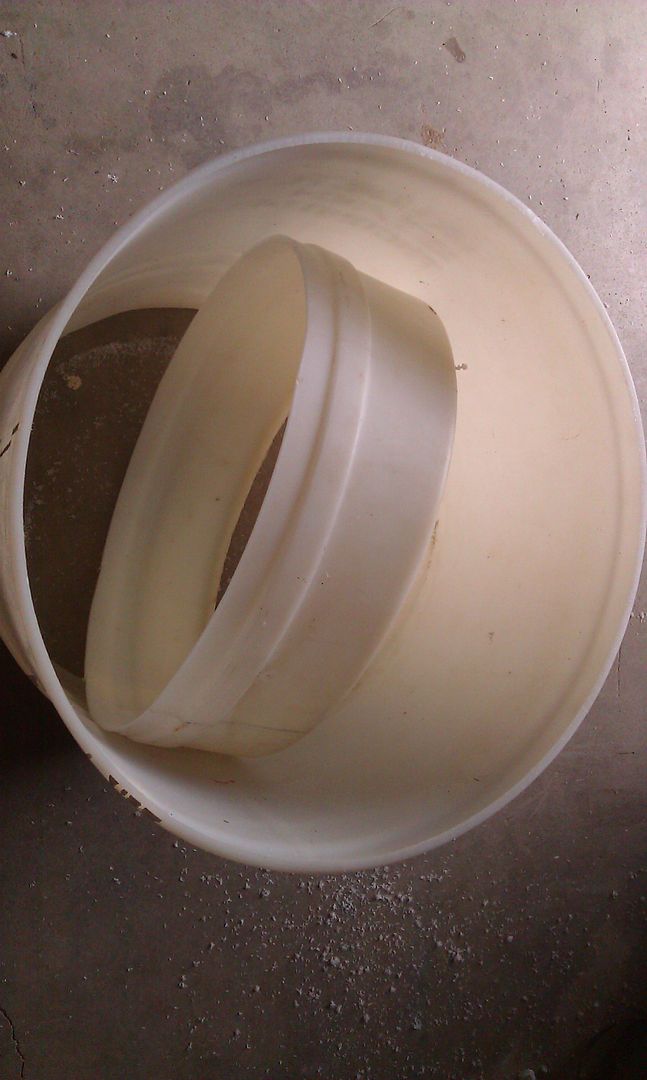
Cut the top of the barrel off to make the barrel the depth that I wanted for the plucker. I just used a measurement that was comfy for me to be able to reach into the barrel and be able to reach the bottom.


Marked the side of the barrel where I wanted to drill holes for more "fingers"...


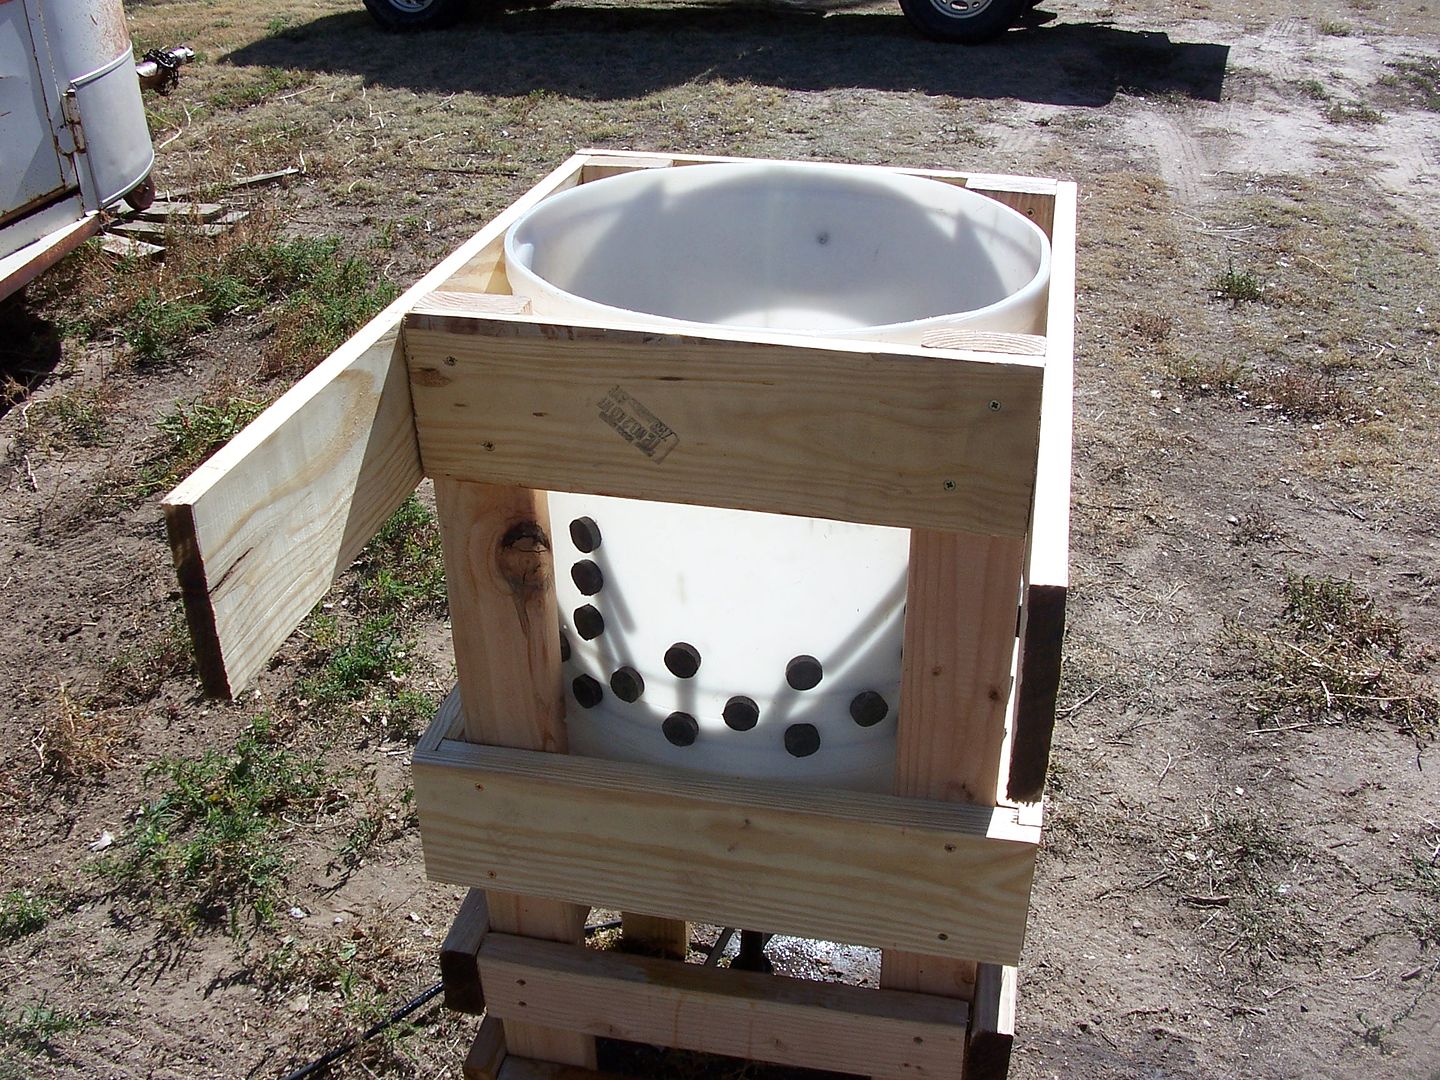
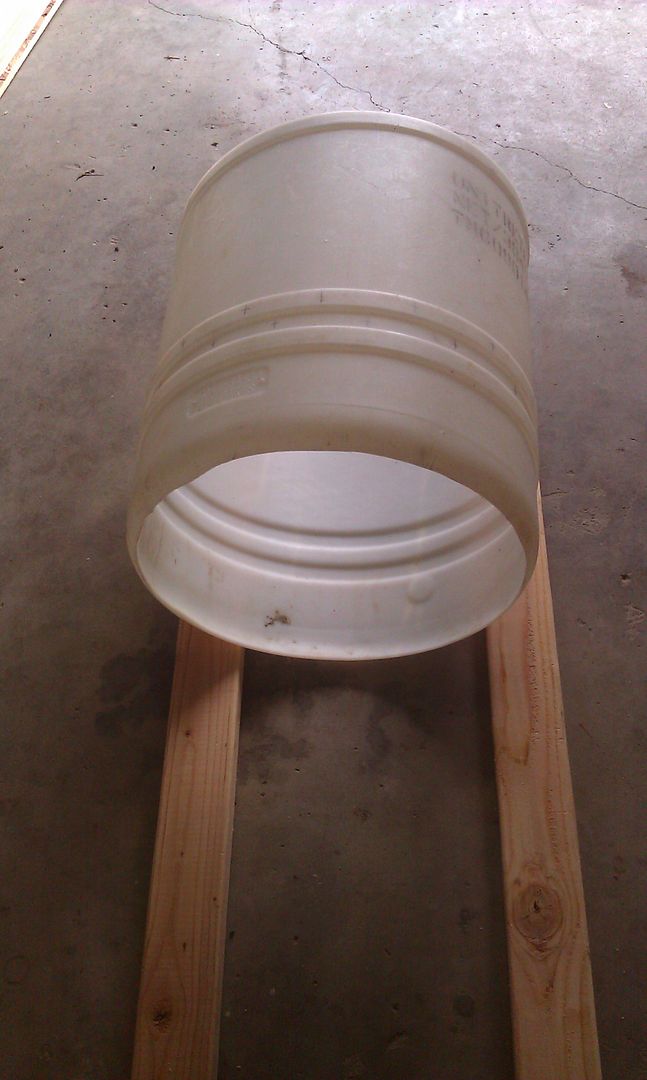
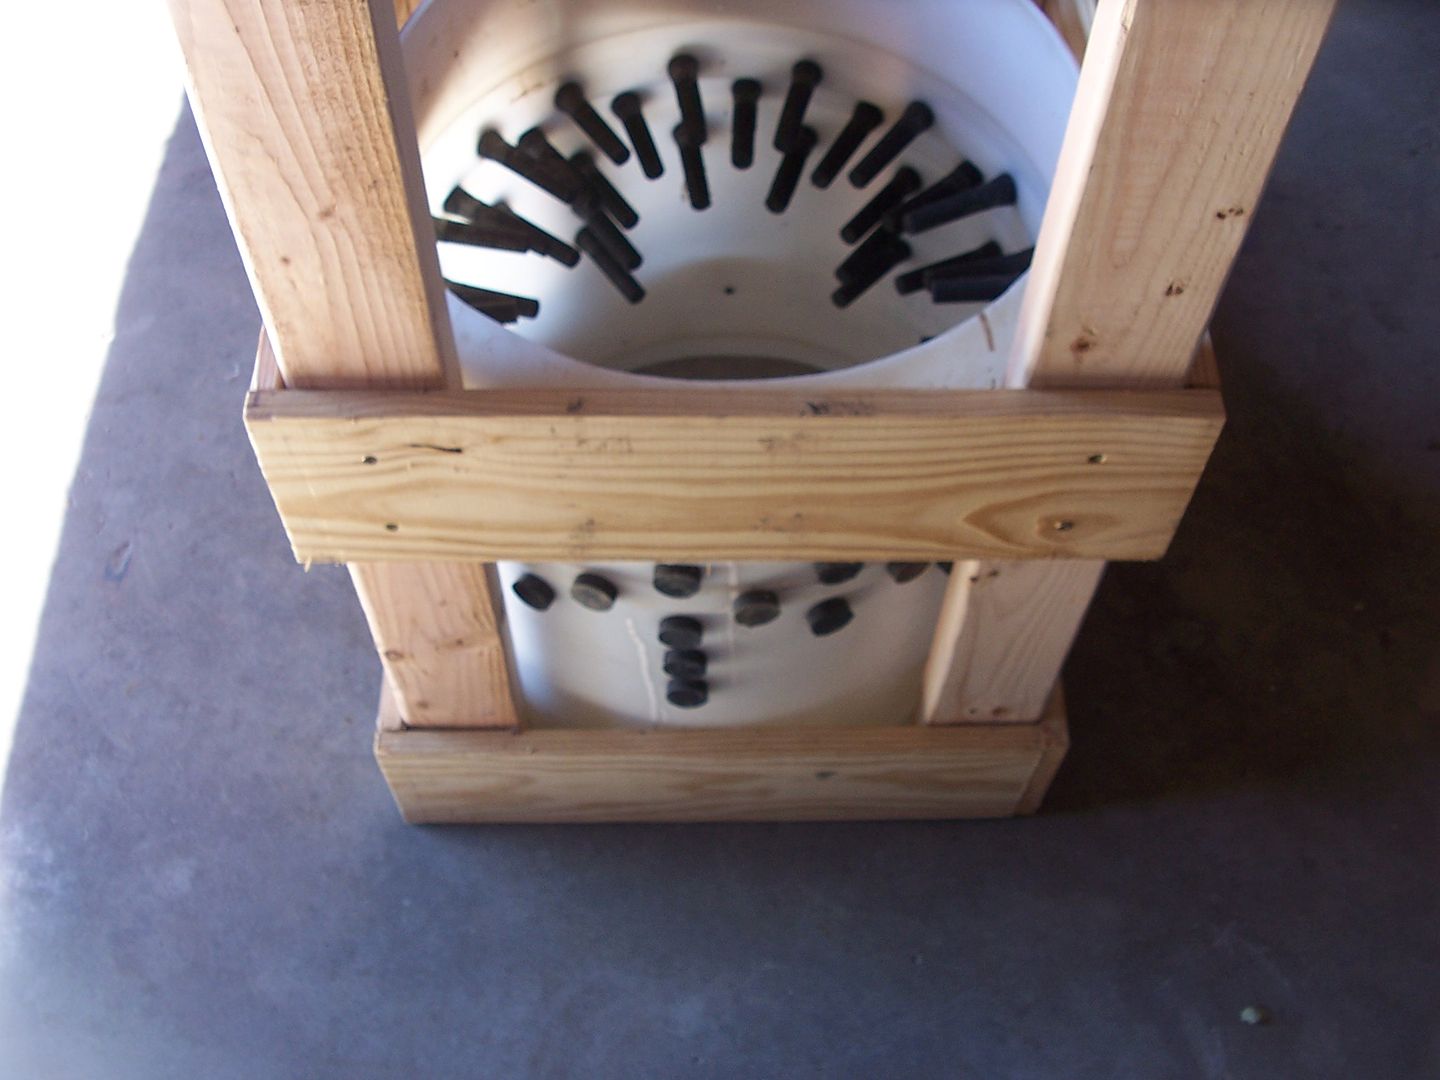
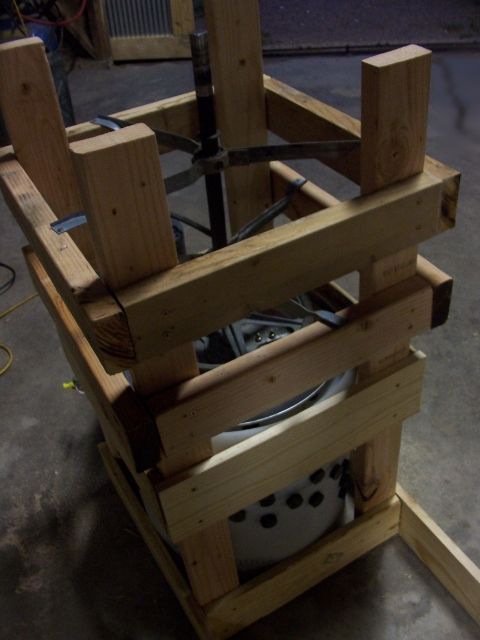
Built a 2x4 frame and attached the barrel with screws... (the plucker is turned upside down in picture)


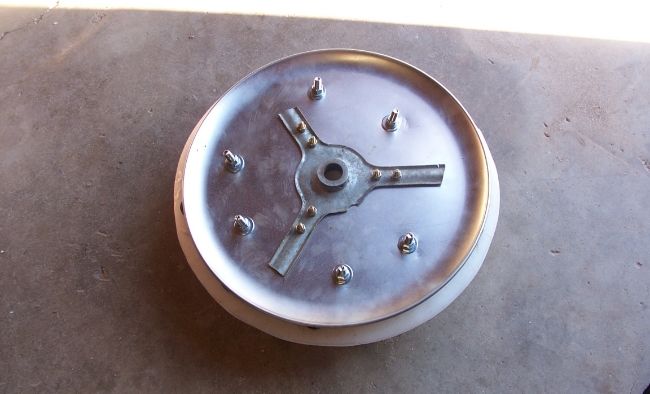
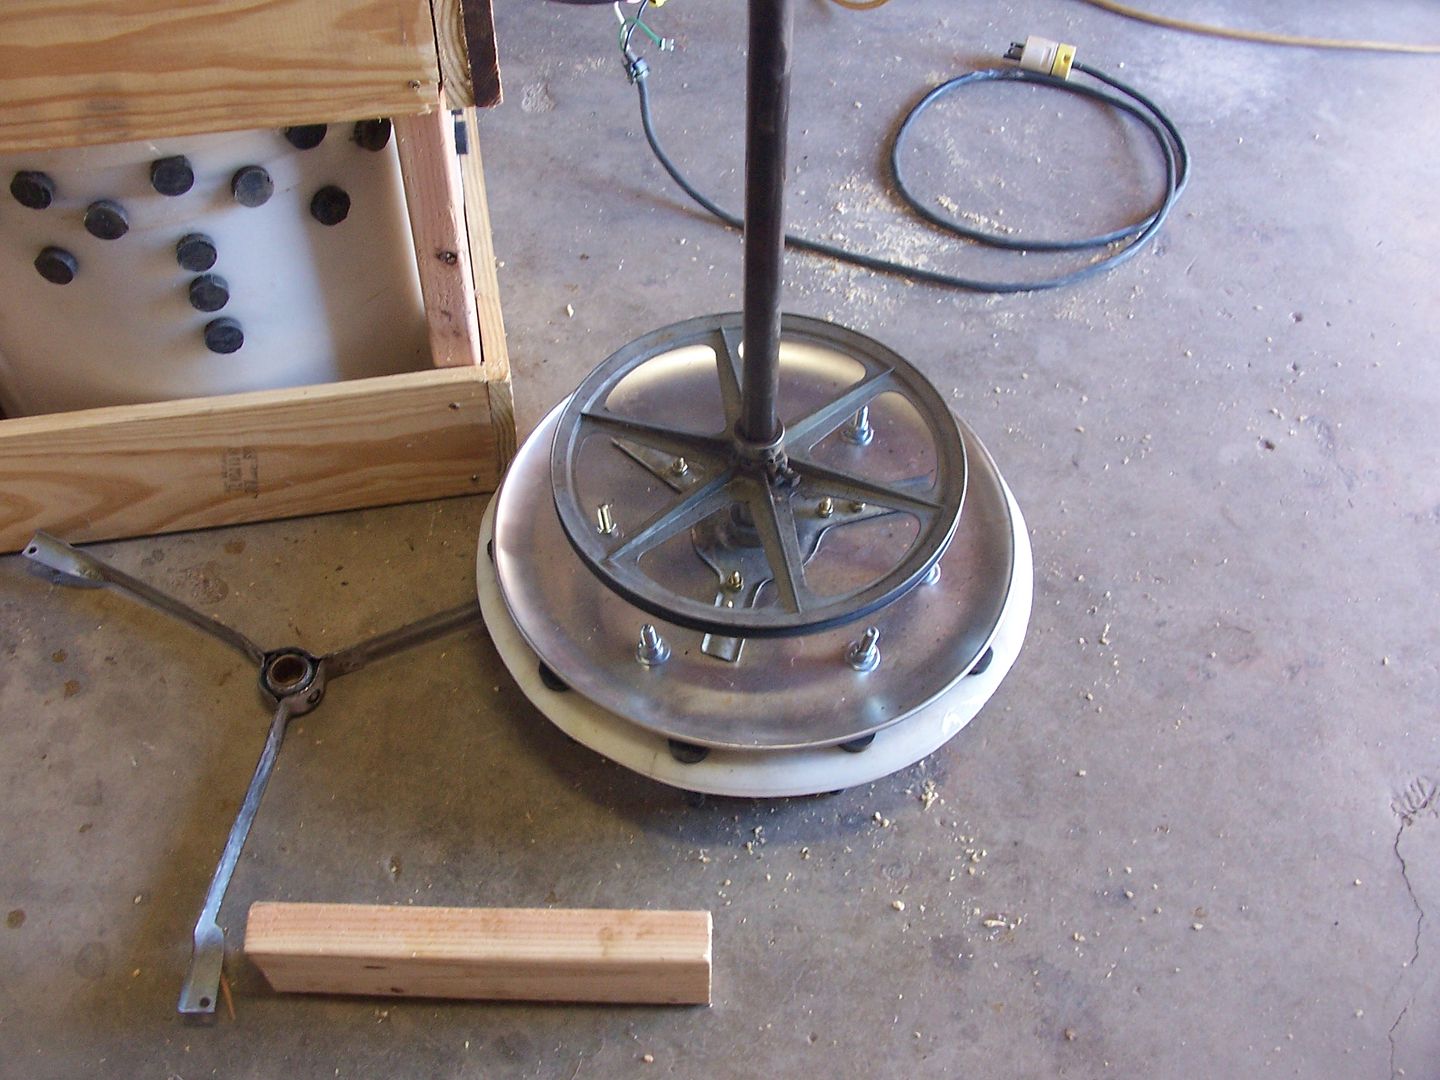
Reinforced the bottom of the barrel by attaching a pizza pan.
Also attached one bracket from the swamp cooler to the pizza pan....


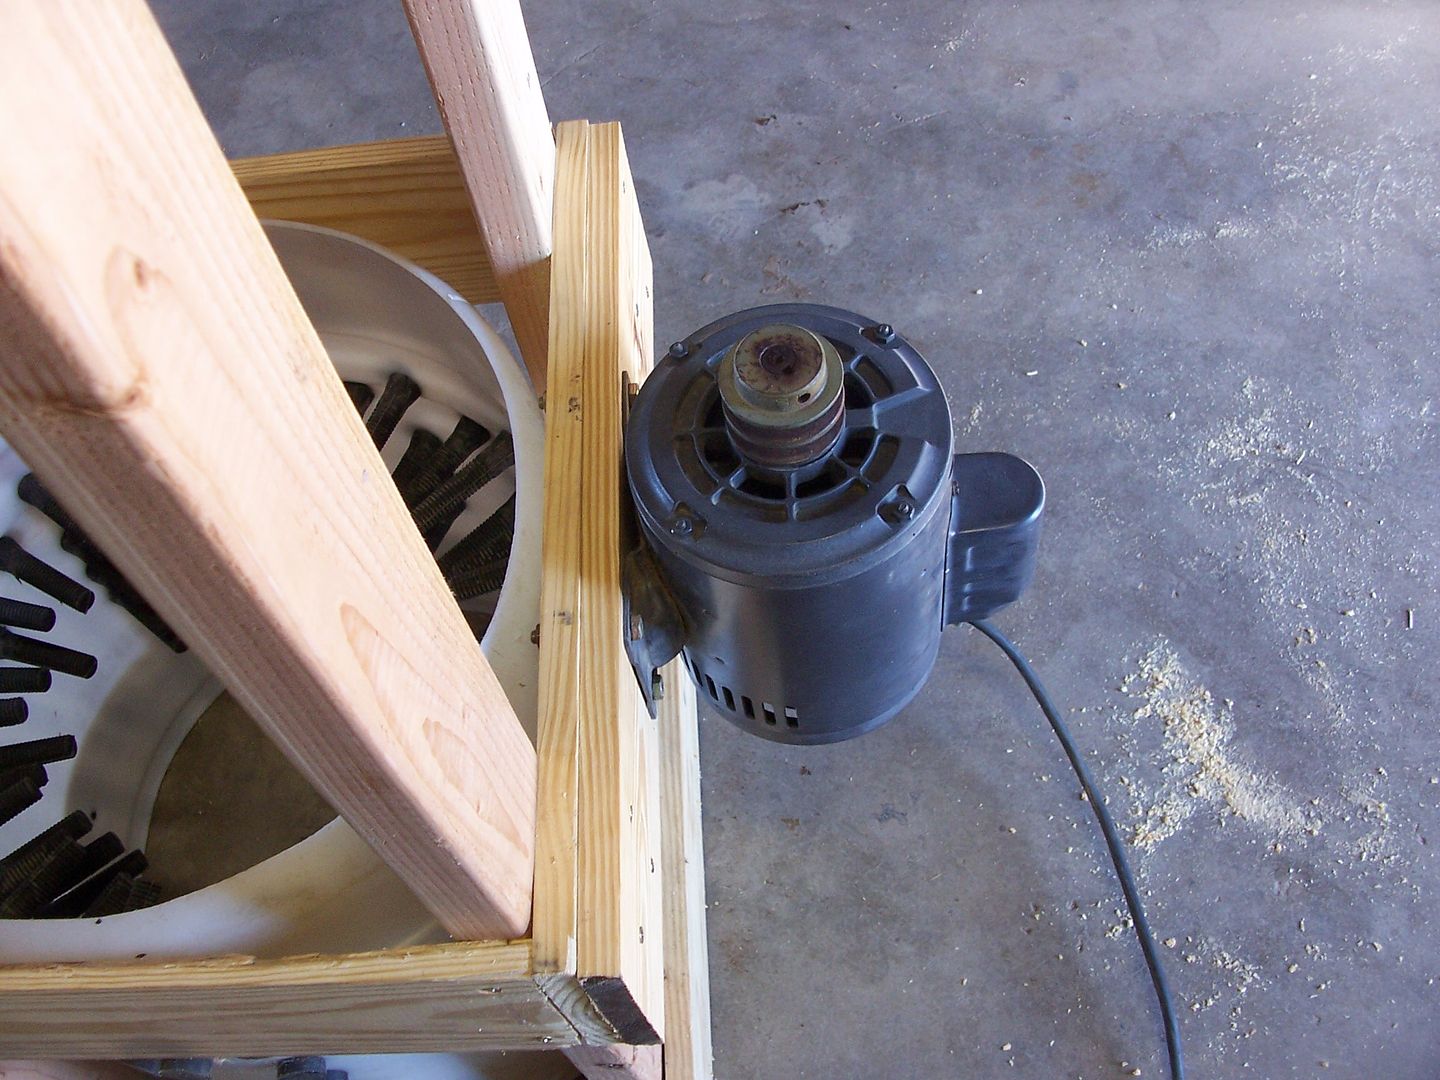
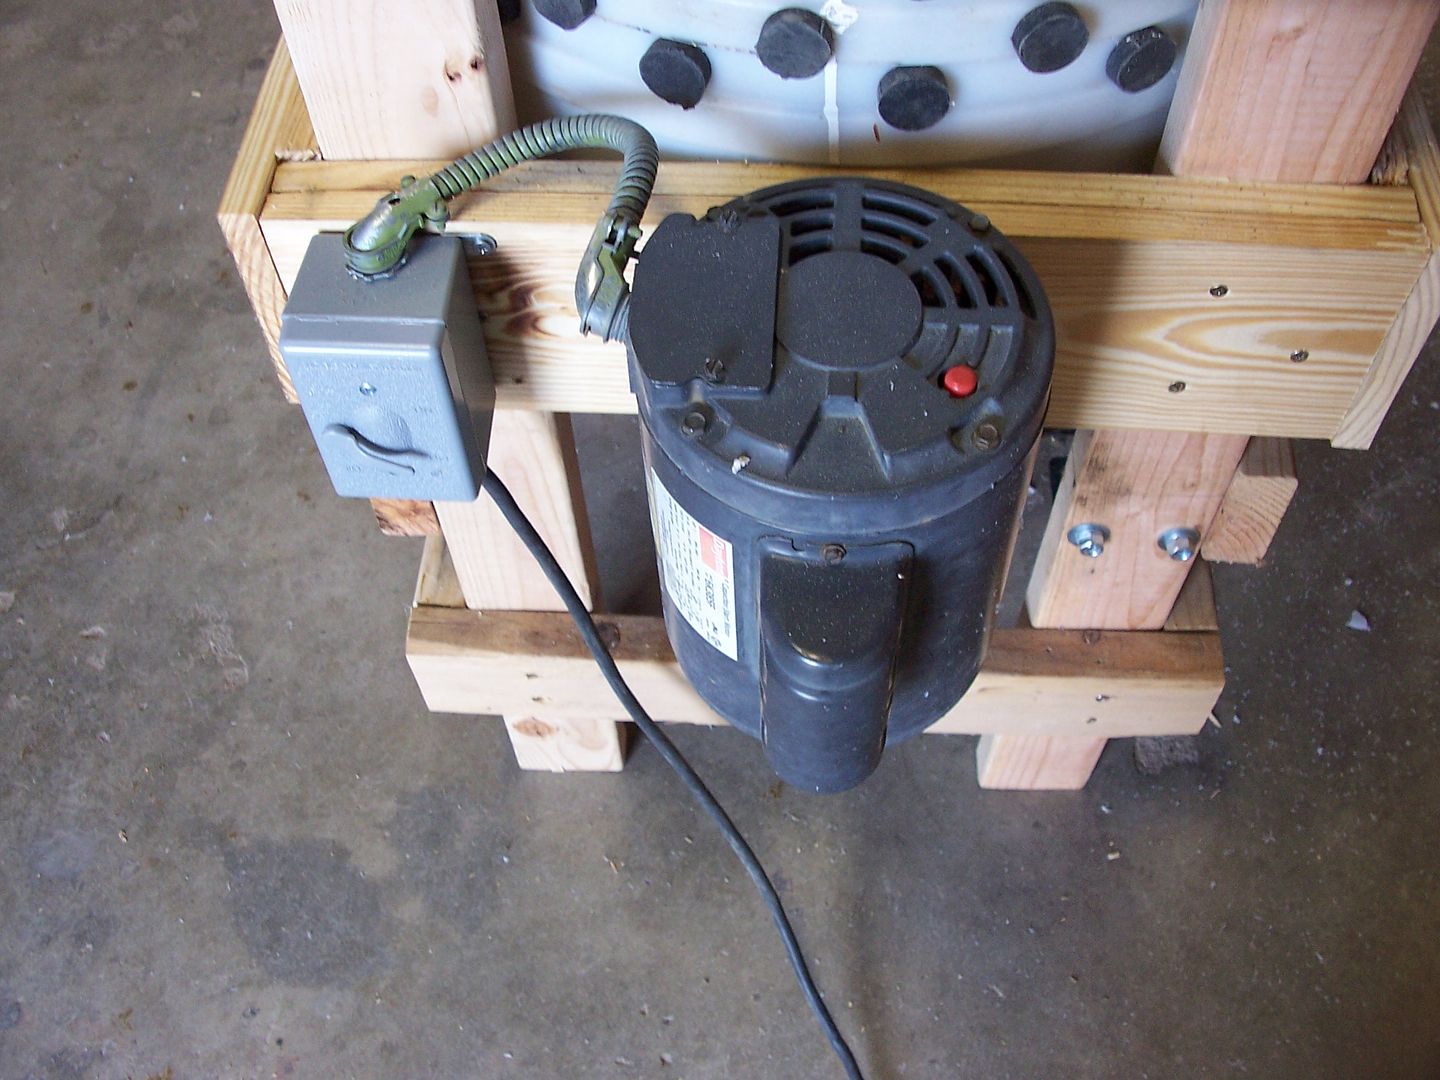
Next came the air compressor motor....  (still have the plucker upside down)


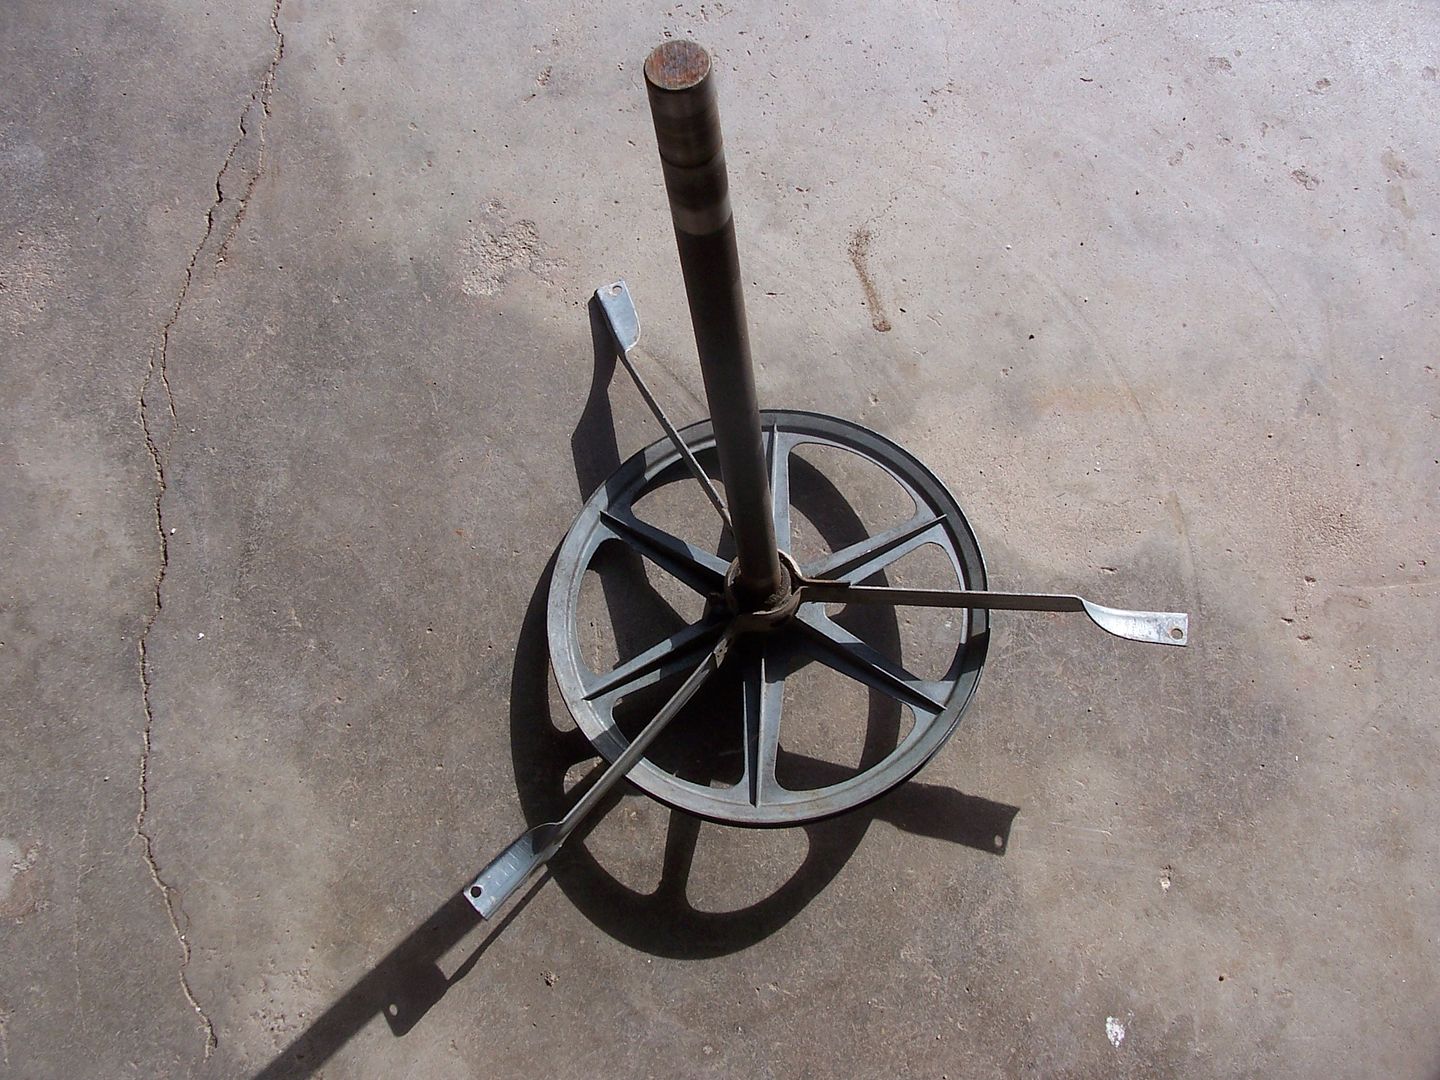
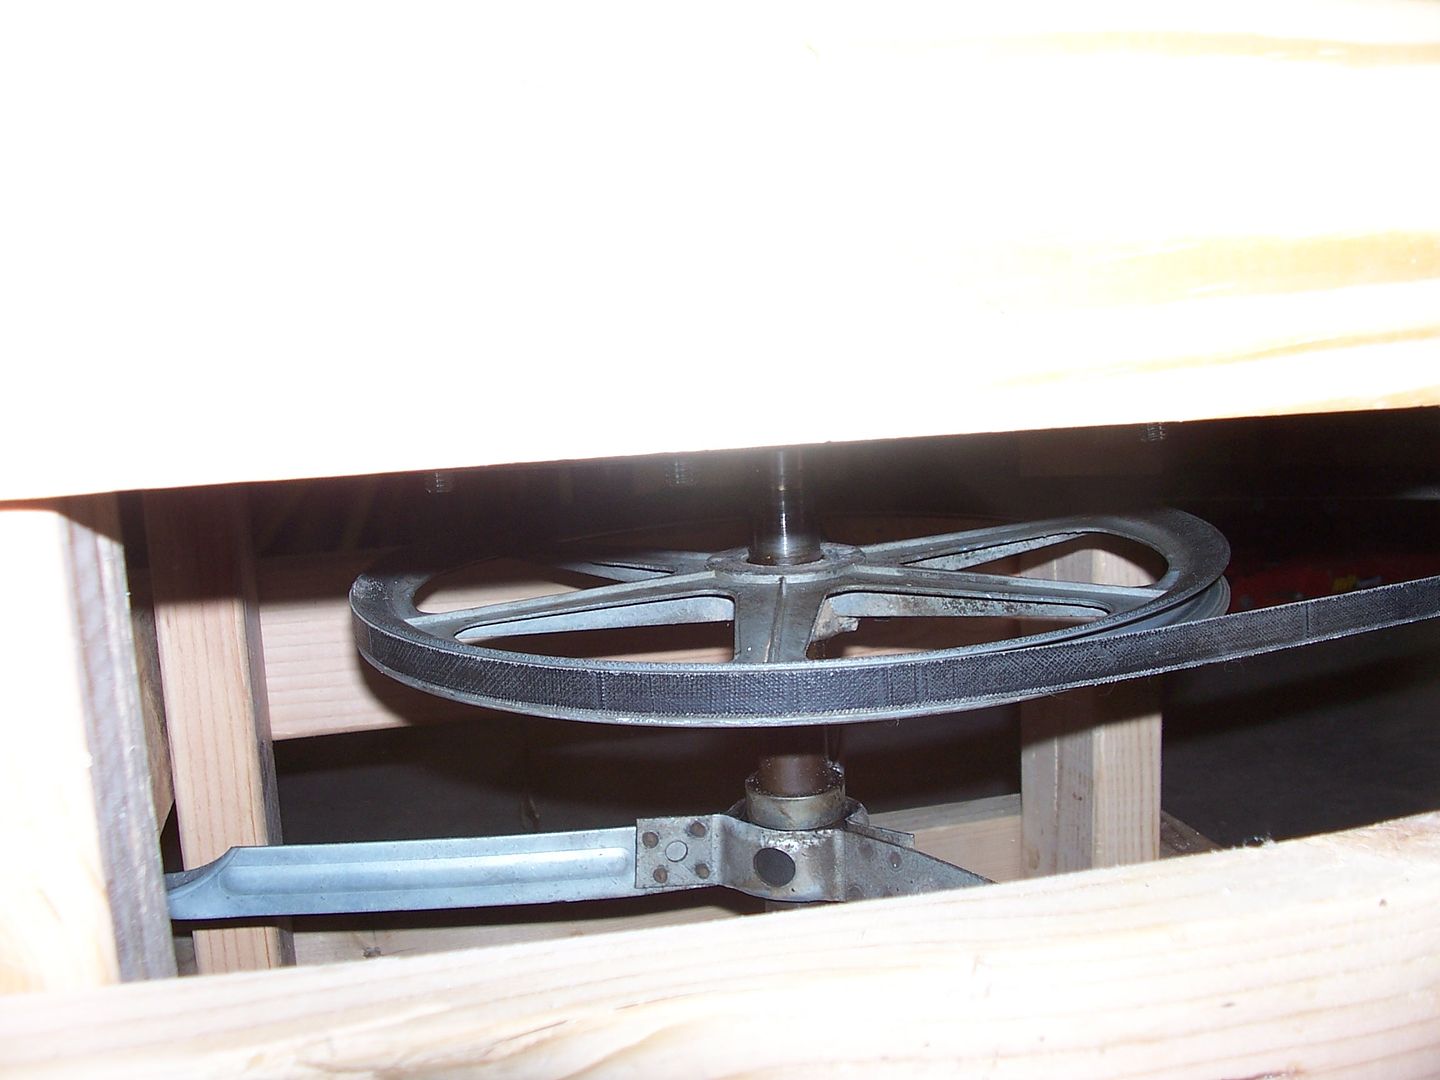
The swamp cooler pulley, bracket and shaft... (one bracket is not pictured)


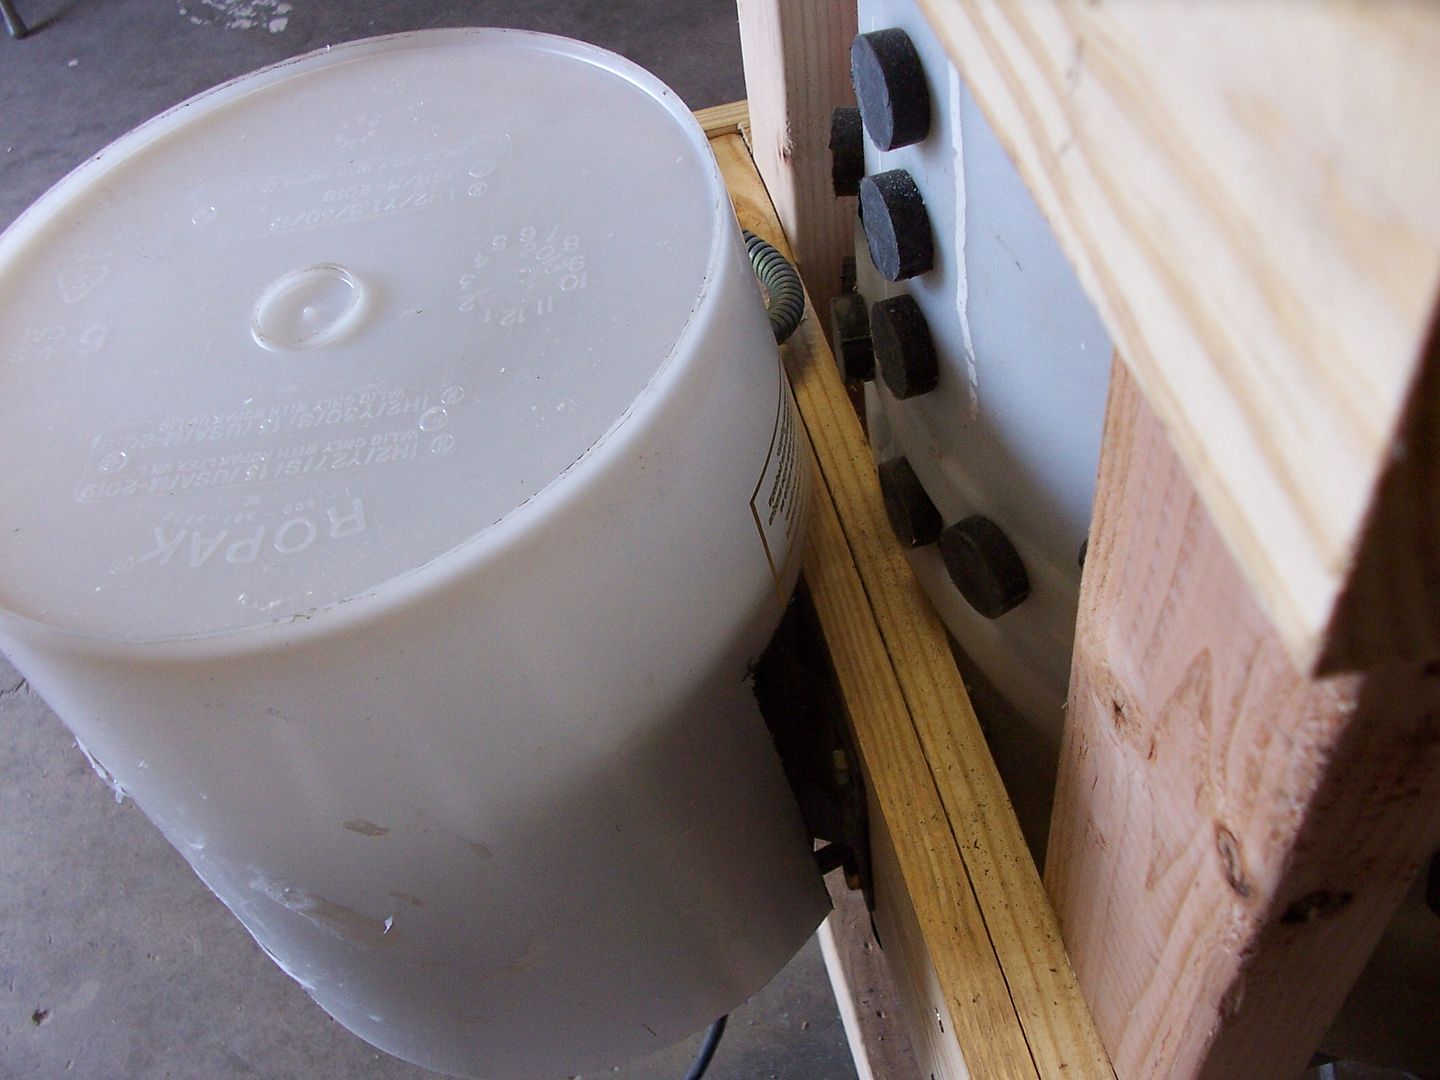
Attached the bottom of the barrel to the shaft.....


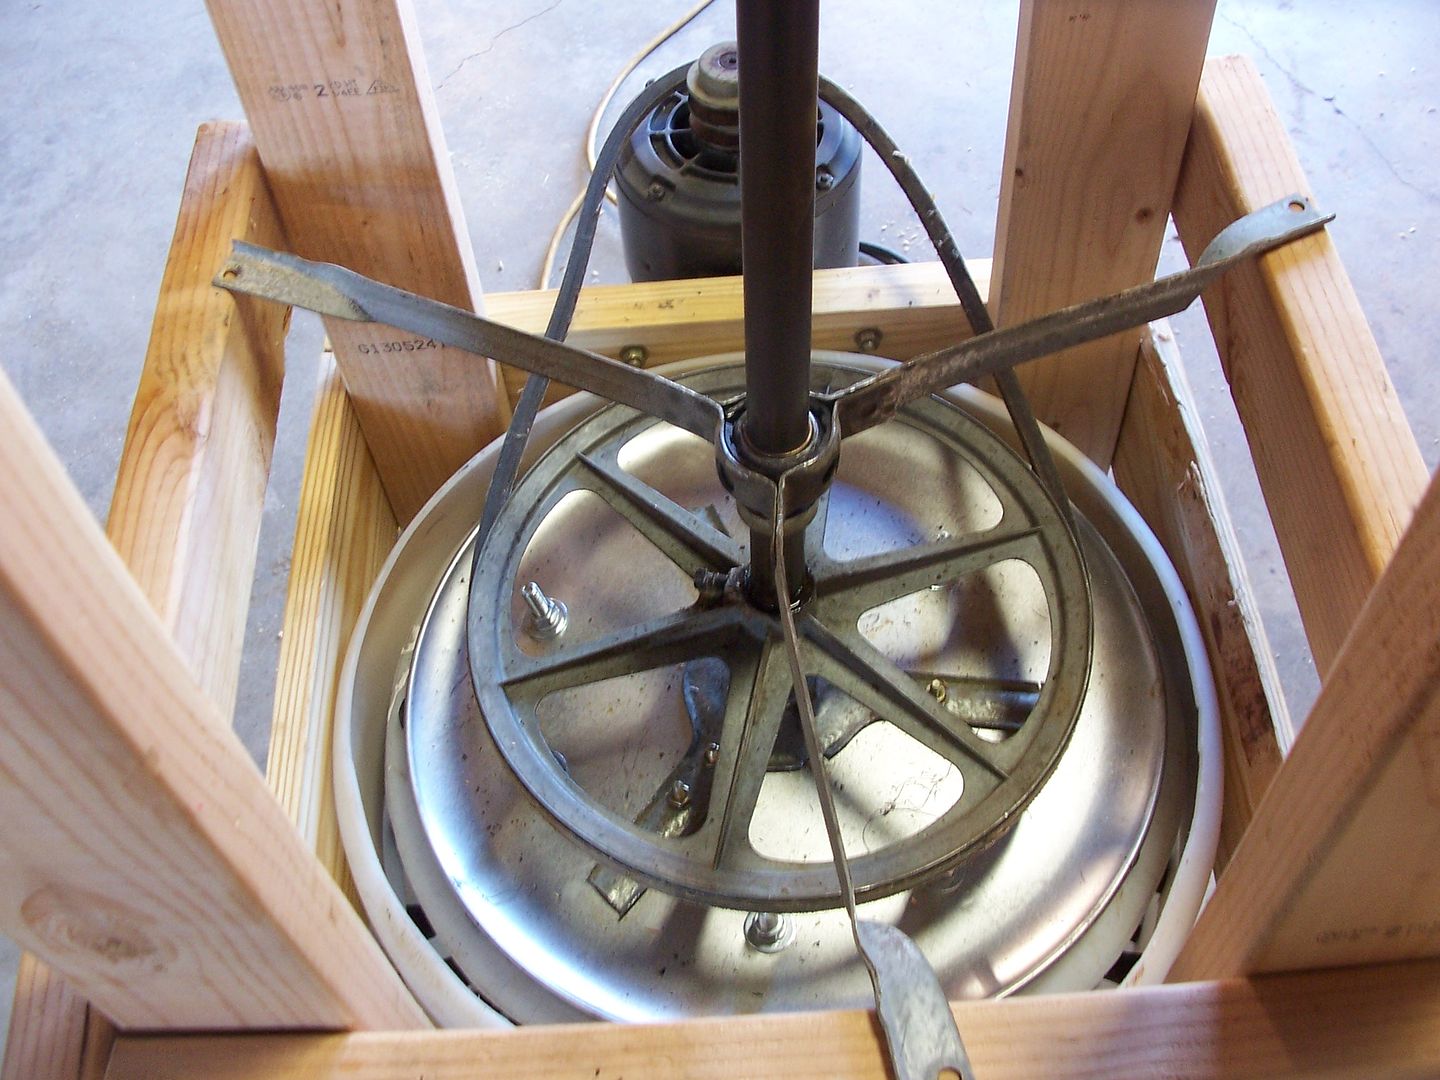
Lining up the pulley with the motor...  The bottom of the barrel needs to be inside of the barrel about 1".  Space is left between the bottom of the barrel and the side so the water and feathers can pass through and out.


Attached a second bracket to keep the shaft steady and straight...


Time to turn the plucker right side up....


Add a switch to the motor...
not shown, I ended up replacing the wire from the motor to the switch. 


cut a plastic bucket to fit over the motor...


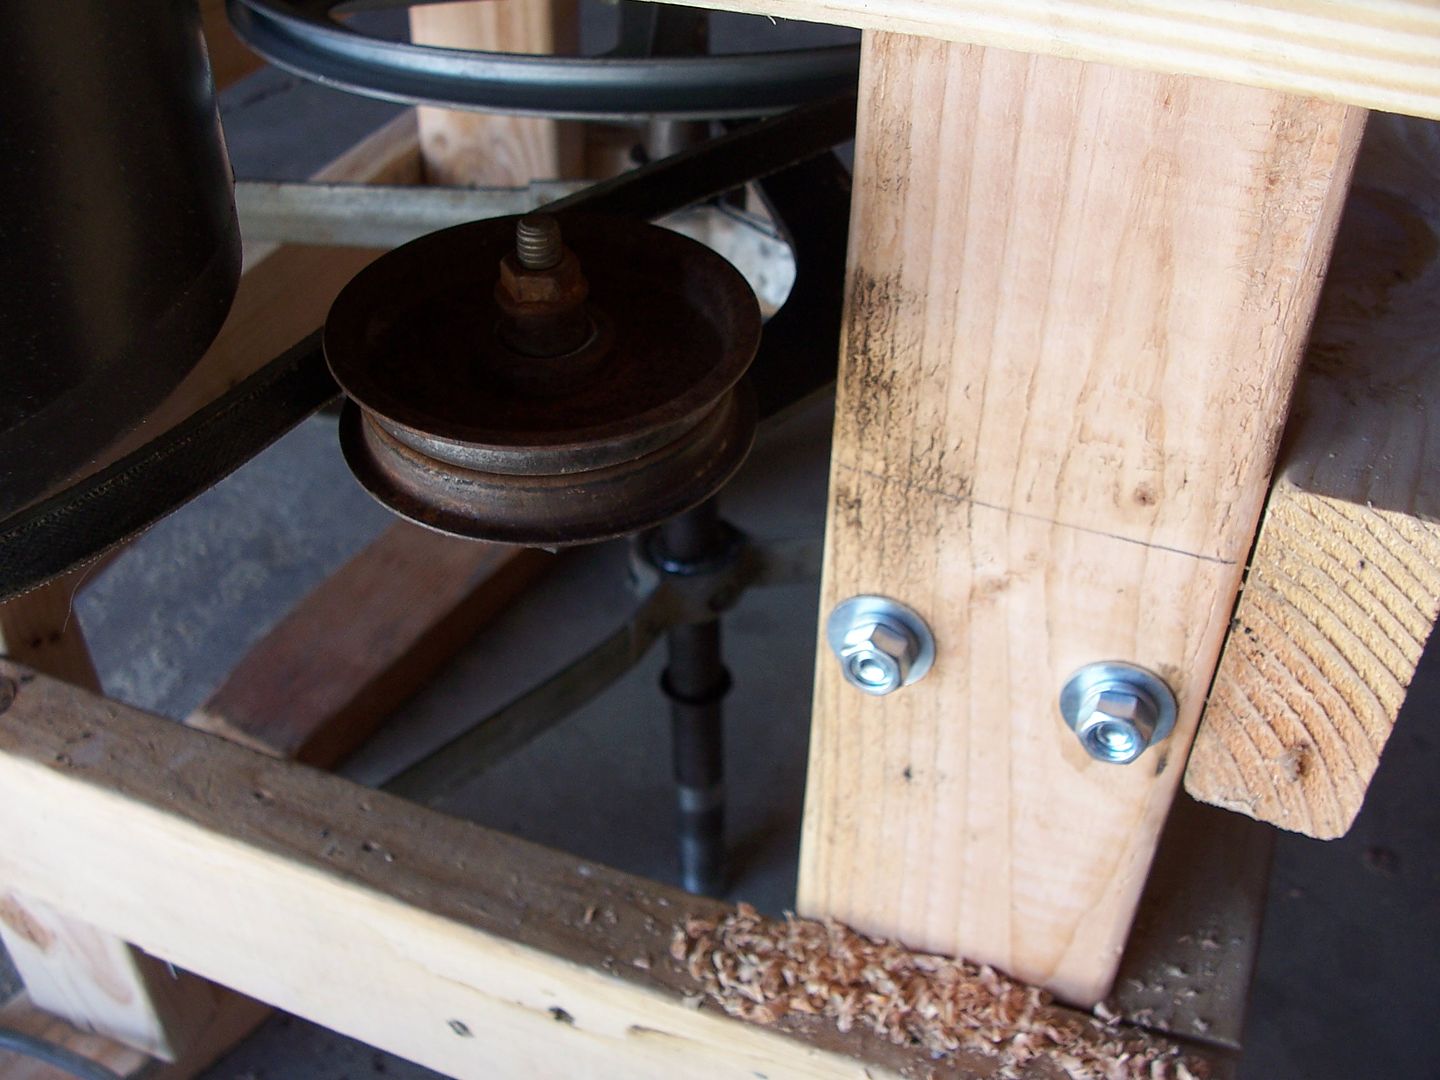
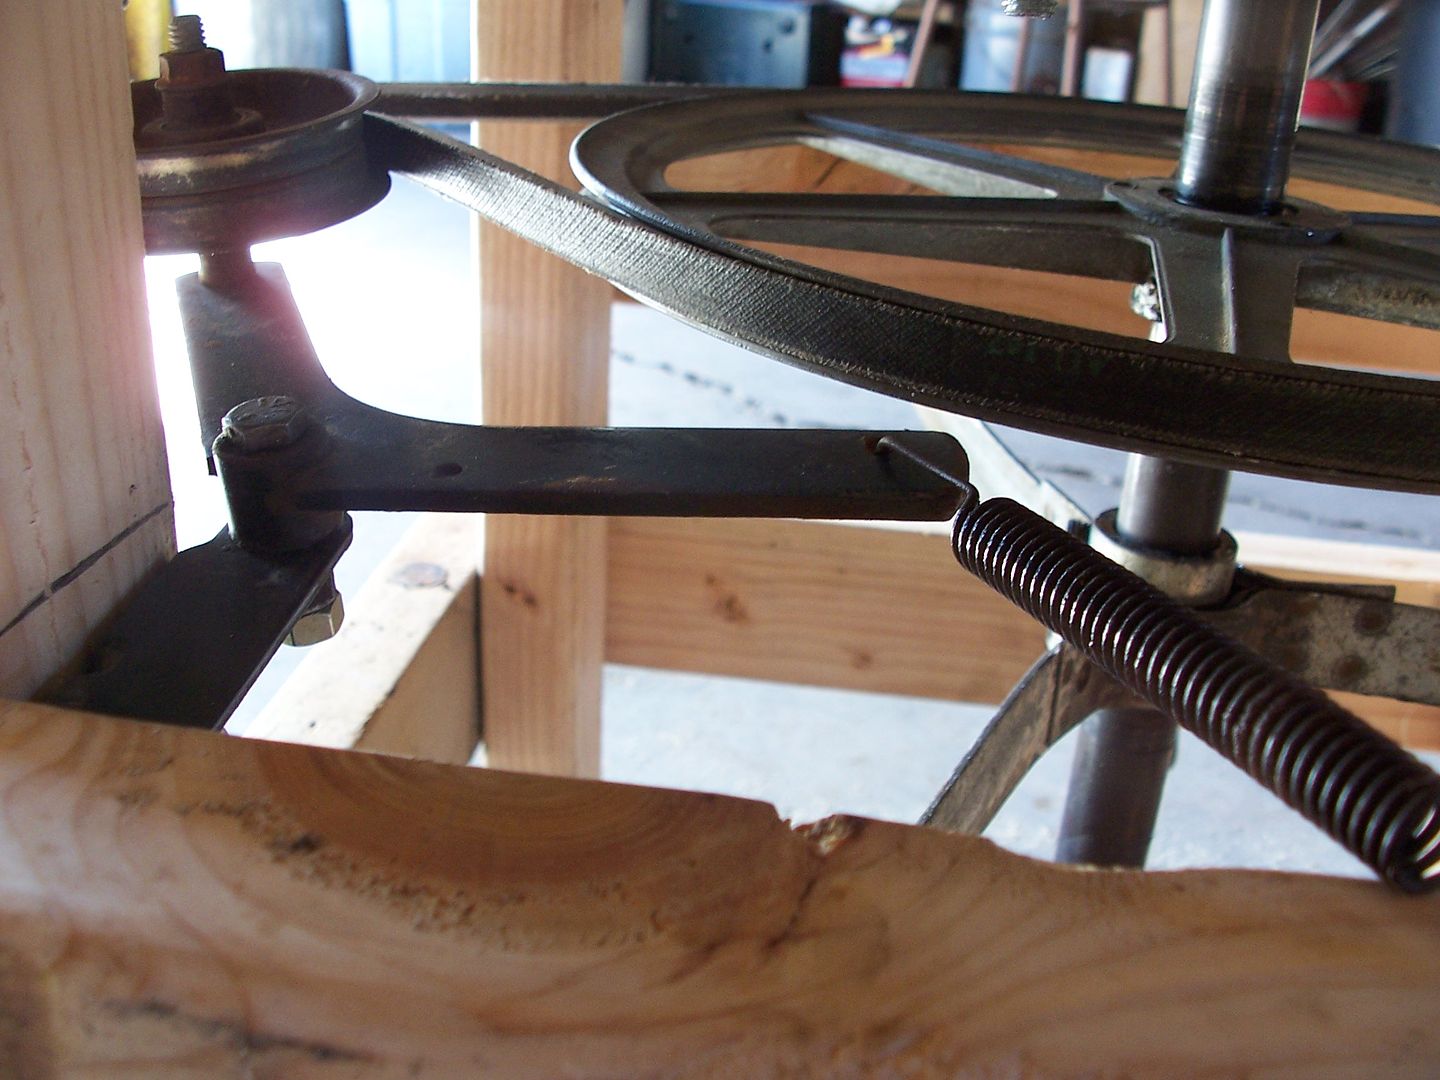
The idler pulley from the old air compressor...


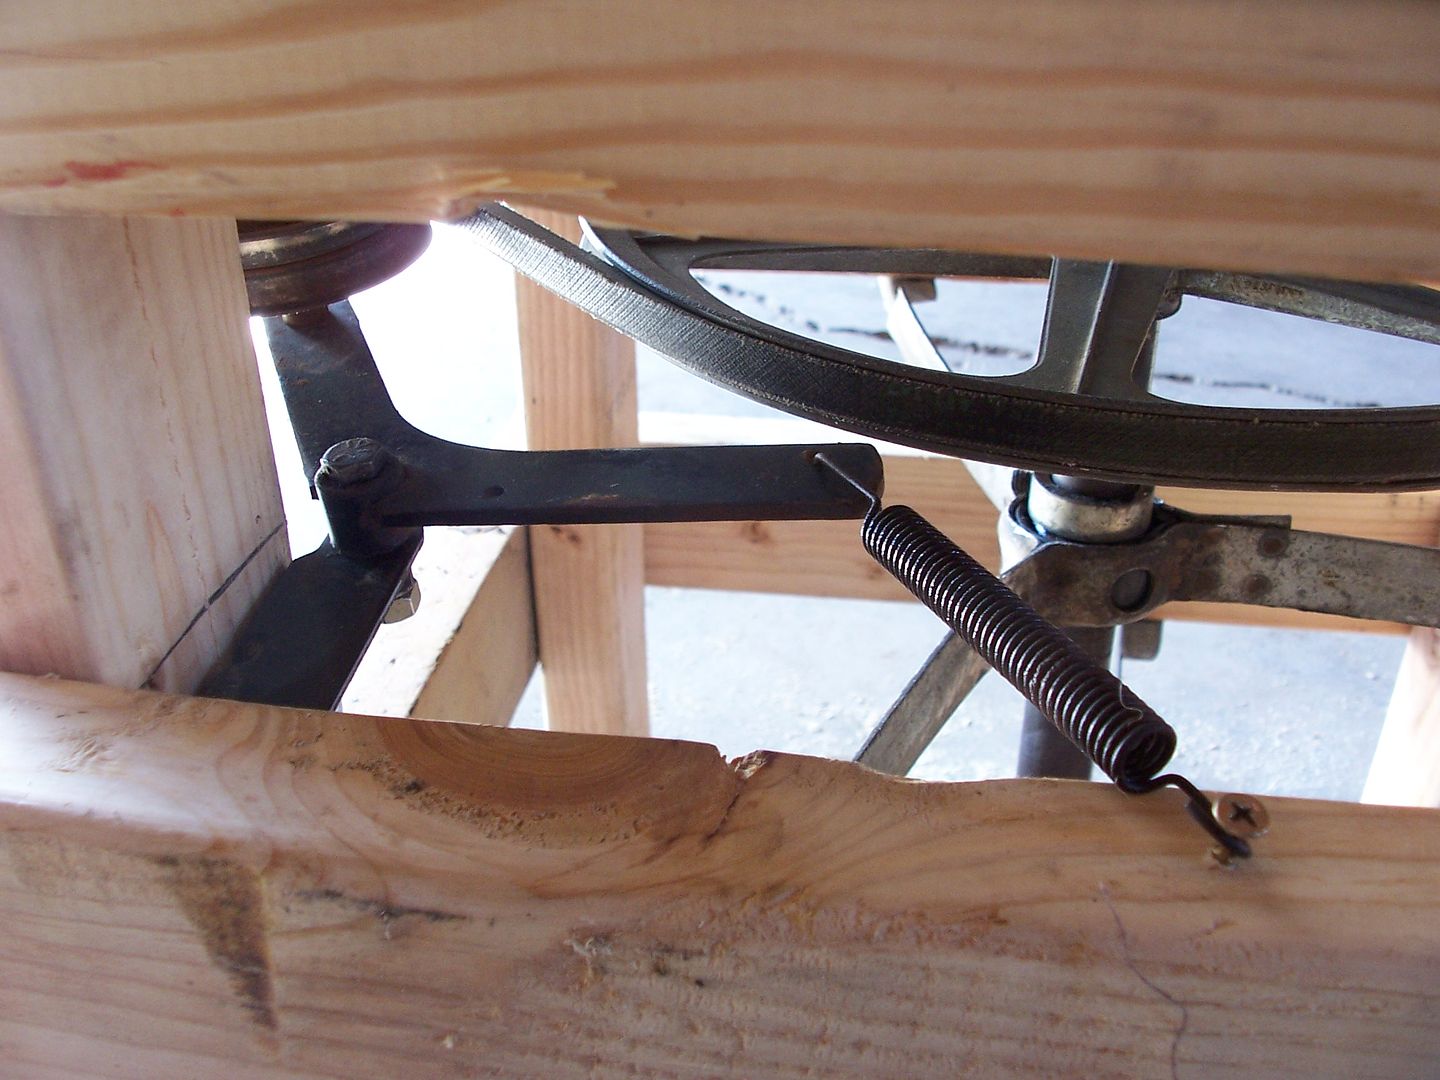
The belt and mounting the idler pulley...


The pulley keeps the belt tight...
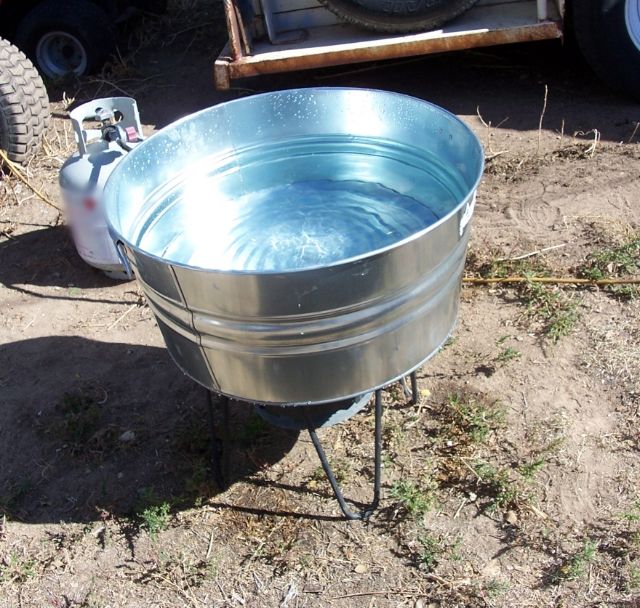


Ready for action...


The barrel is stationary, the bottom spins...


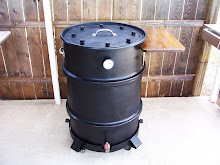
The chicken plucker...


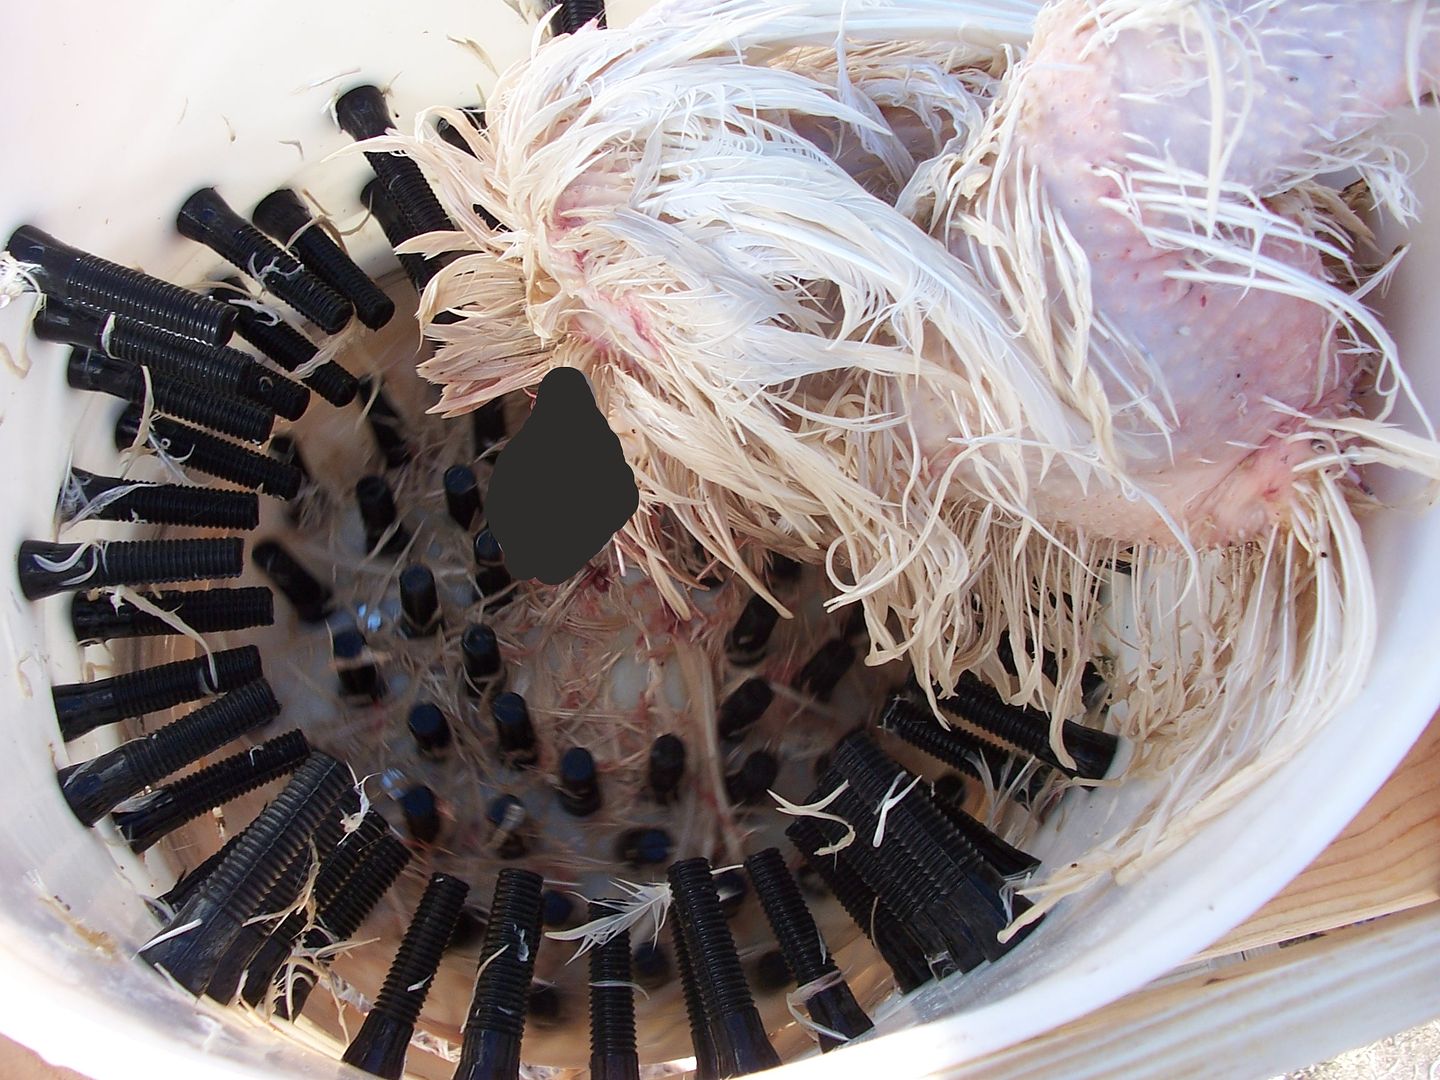
The plucker works great. I haven't decided if I want to add a table to the top. I left the boards uncut until I decide.
Also am thinking about adding wheels. I used a dolly to move it around, but wheels would be kind of handy.

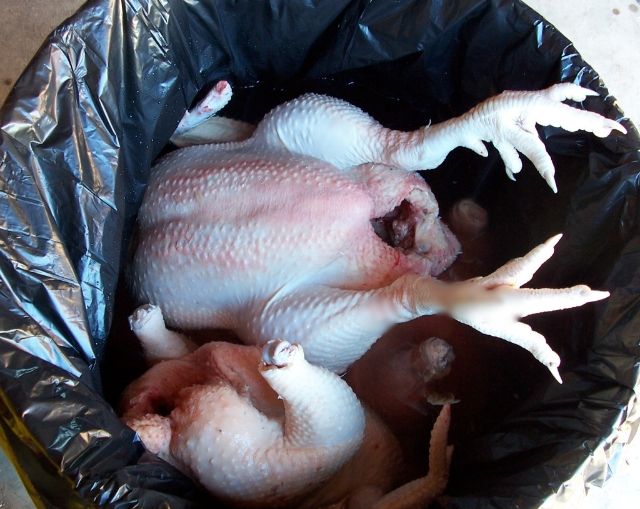
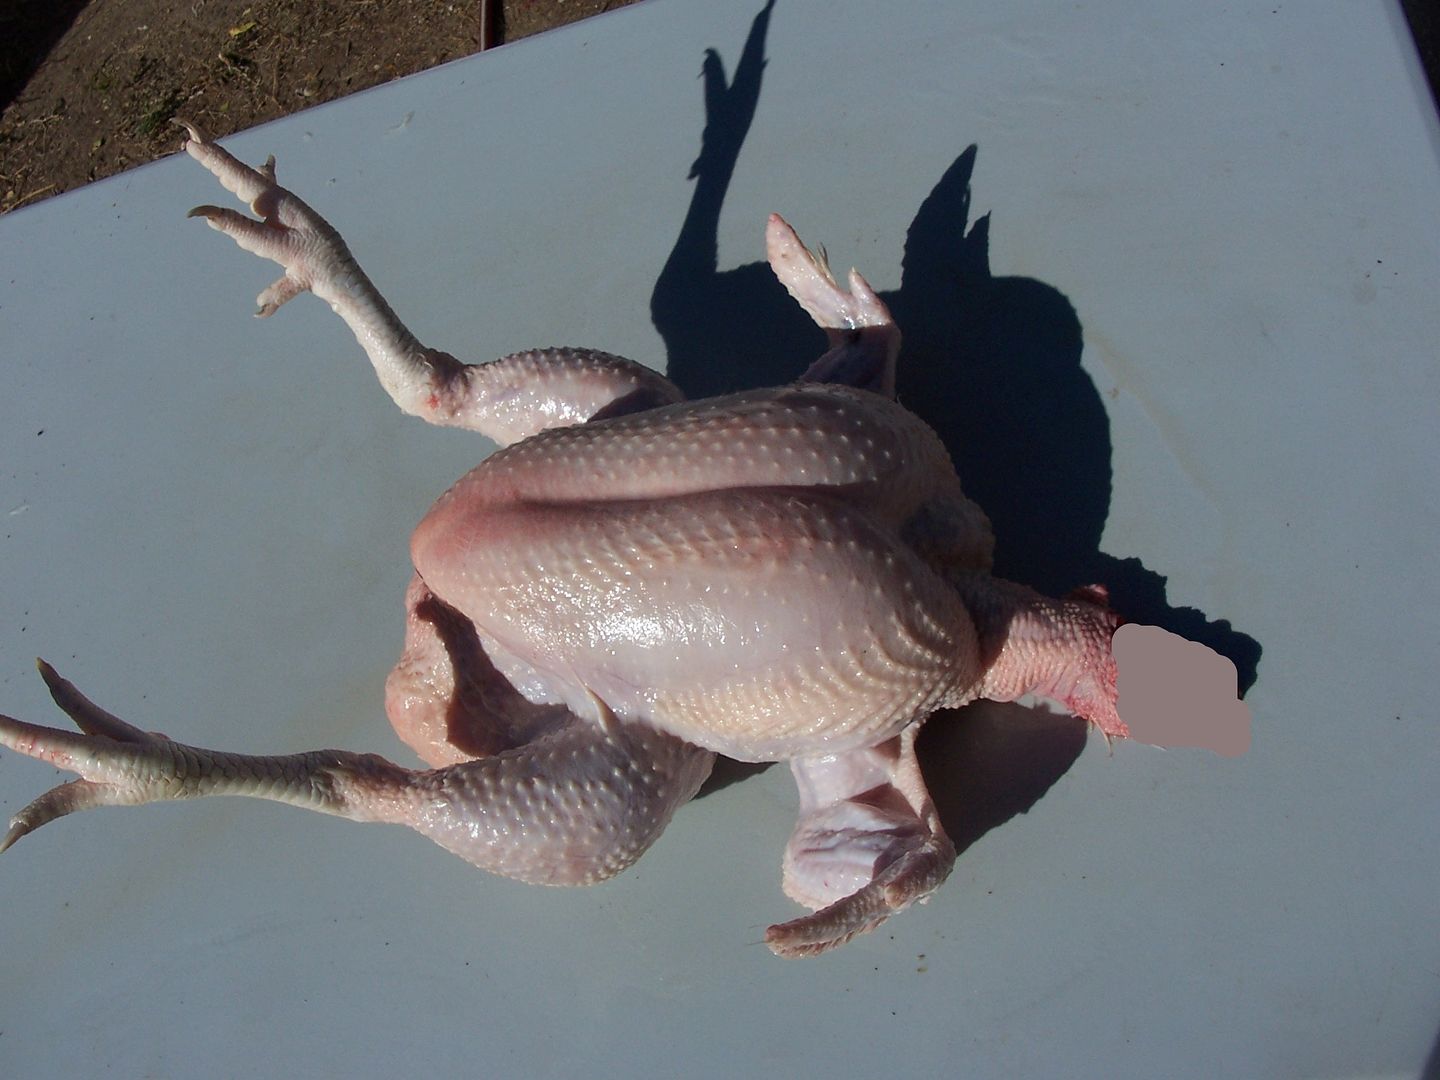
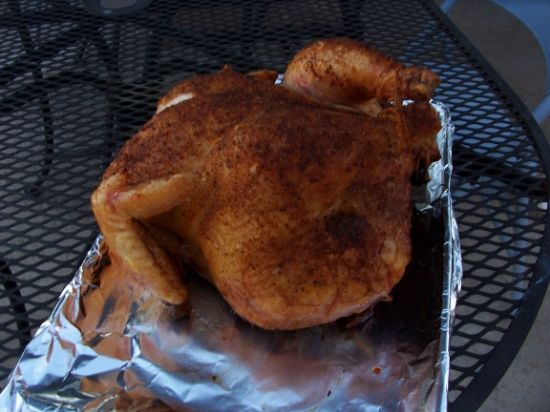
I was able to clean chickens in record time with this thing. Should have built one a long time ago. :)