Search Feature

Monday, November 30, 2015

Home Canned Brisket Burger


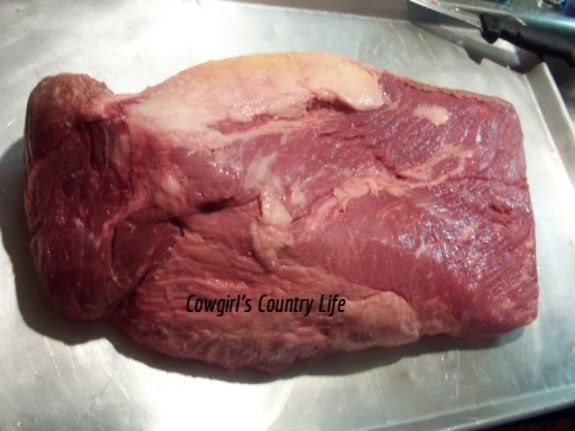
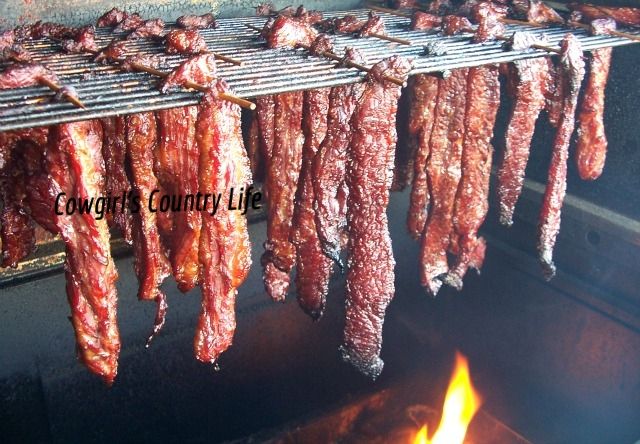
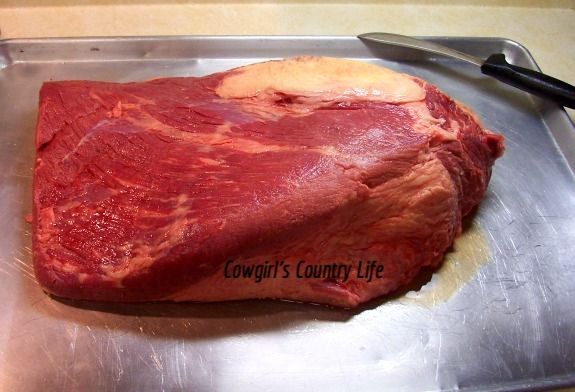
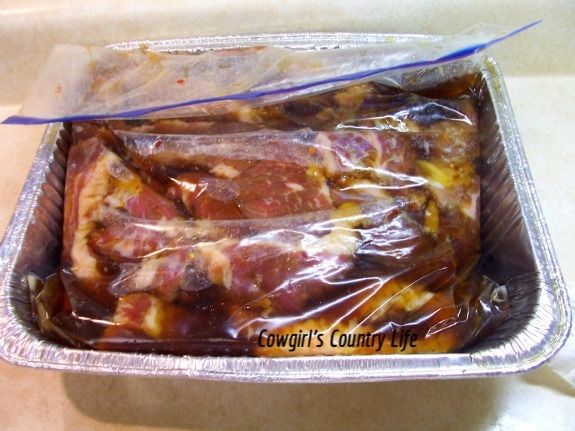
Came across a pretty good deal on briskets recently and couldn't resist bringing a few home. I made Guam style brisket with one, corned beef with another, pastrami, and burger with this one.

Canning burger is one of the easiest meats to pressure can. If done correctly, the jars of meat can be shelf stable for 5 years. As with any canning, use your own judgement and common sense. I don't recommend following any blog or internet recipes. Use safe, trusted methods from the USDA or the instruction booklet that came with your pressure canner. Keep safe. :)

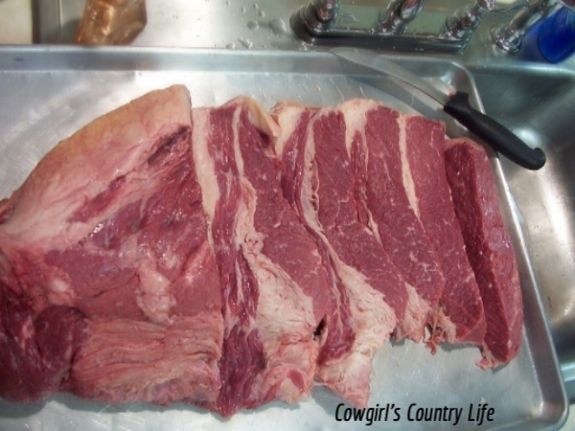
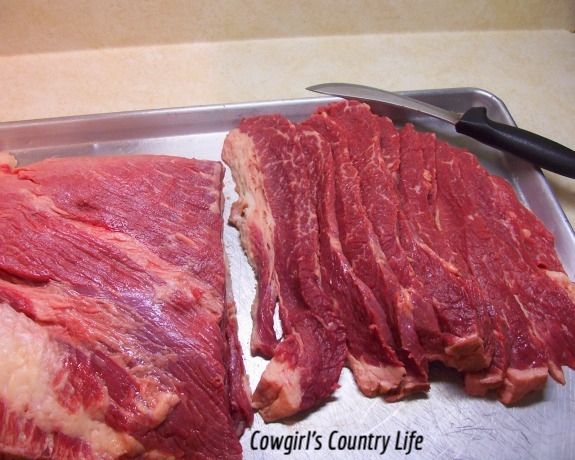
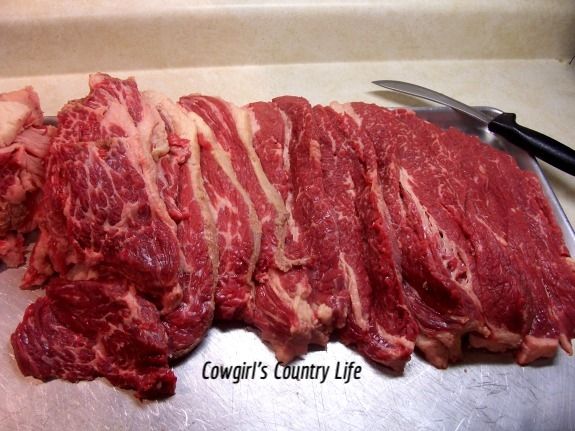
I cut the brisket into cubes and removed most of the fat....


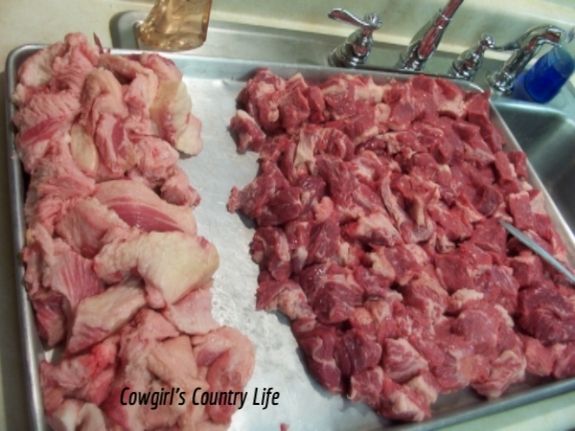
The fat left in the cubed brisket was enough to make the burger about 85/15. I was ok with it. :)


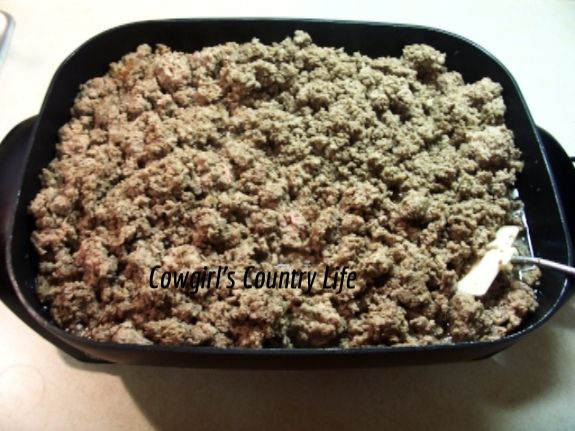
I browned the burger but left it on the "pink" side. Also salted the meat a bit and drained the fat off.


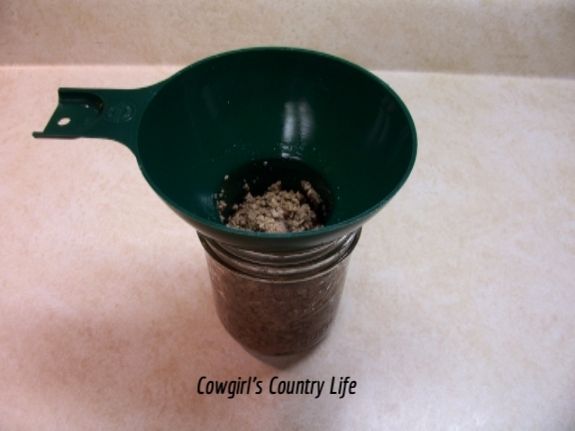
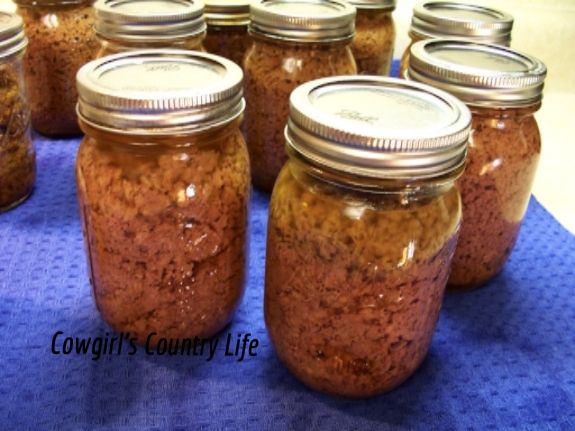
filled hot sterilized pint jars with the burger, leaving 1" of head space...


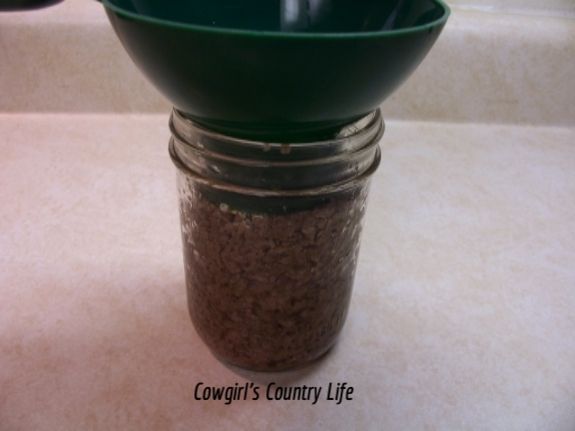
I filled the jars with beef stock...still leaving the 1" head space...
Then used a knife to remove any air bubbles from the jar.


I  use a cloth dipped in white vinegar to wipe the tops of the jars, removing fat, or anything that will prevent the jars from sealing.


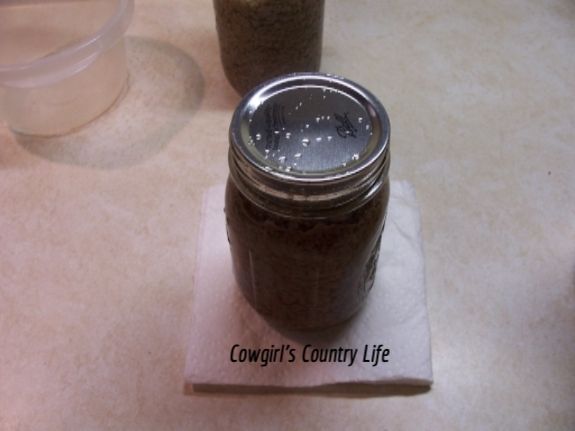
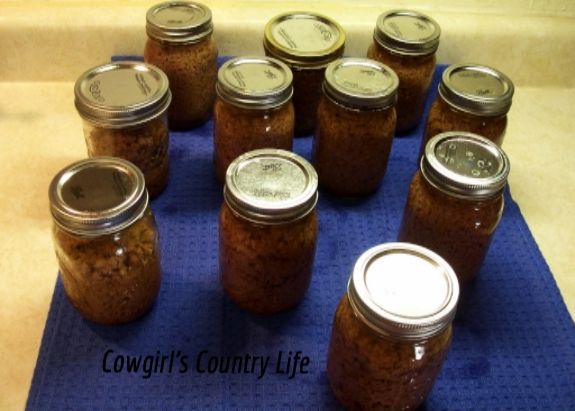
Topped with hot lids and placed the jars of burger into the pressure canner.


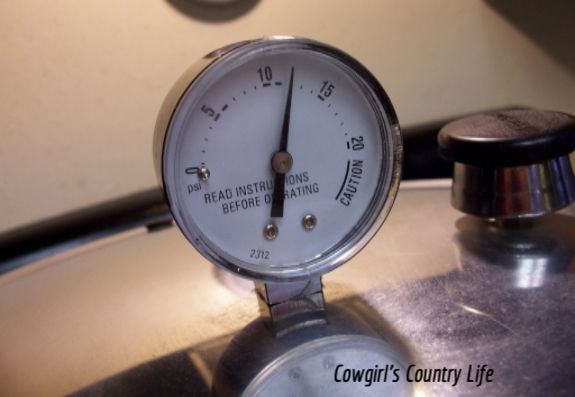
For my area, I process the jars for 90 minutes at 12lbs of pressure. Check your canner instruction book for times and pressure in your area.


After 90 minutes, let the jars sit overnight before washing, checking seals and storing...


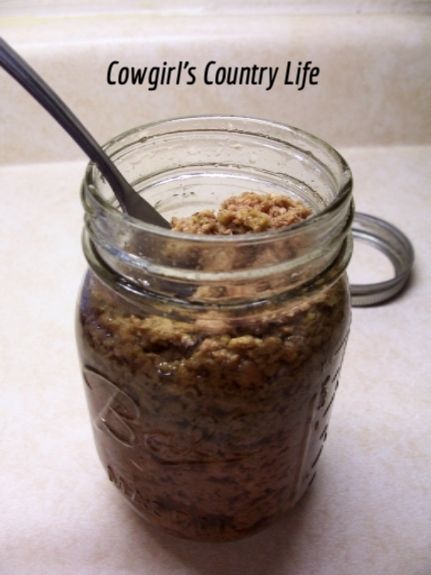
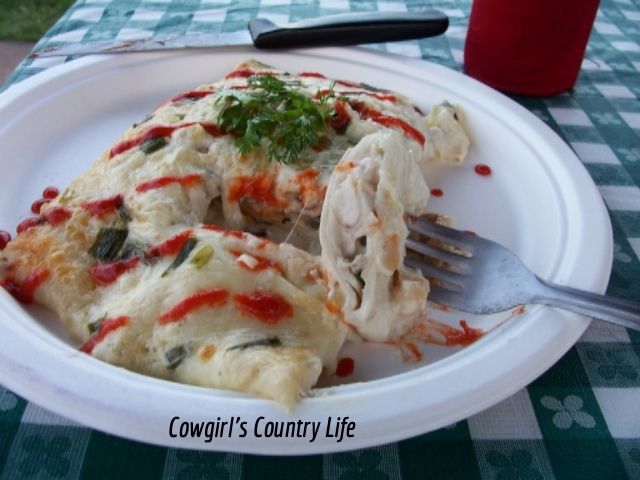
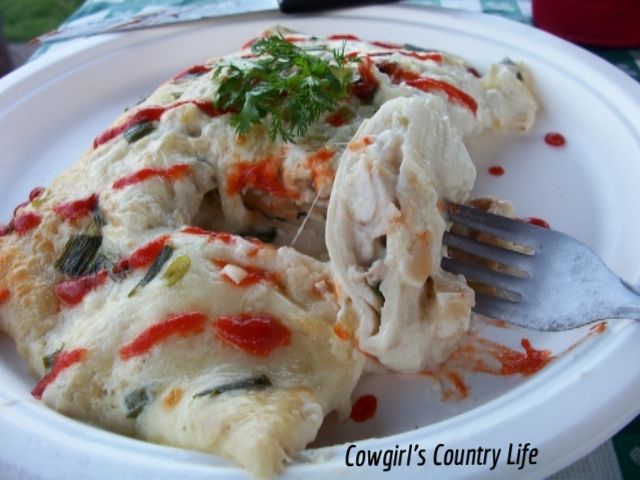
This was the first meal I made with the burger...wanted to give it a taste test.


I added a jar of meat to some simmering pasta sauce...


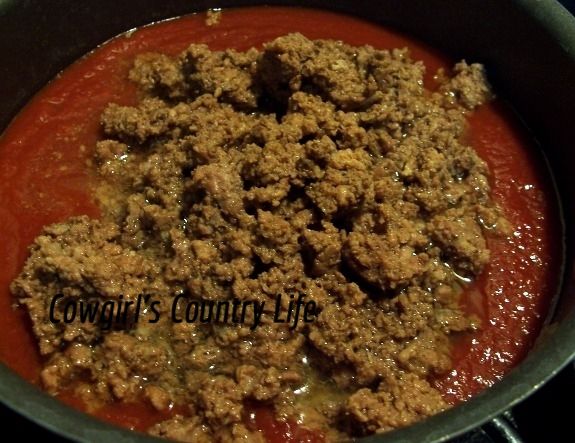
Topped some angel hair pasta...


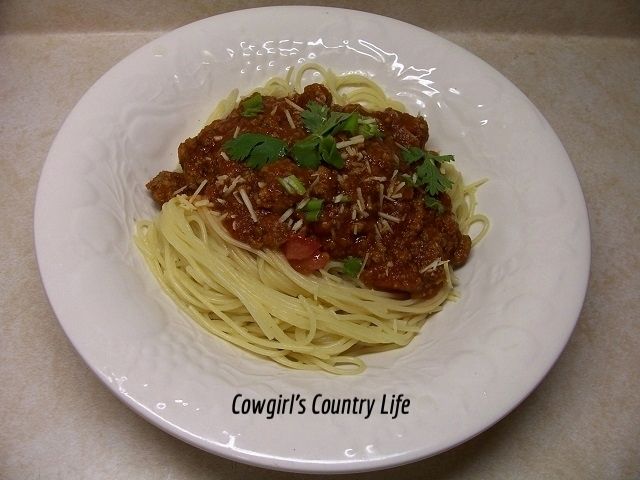
I love it. So quick, easy and handy to have in my food storage cellar.

I did can a couple of jars without beef stock. They worked out well too but I liked the added flavor of the beef stock. I tried not to break the burger up too much when browning. Larger chunks just look better....but the smaller chunks taste good too.

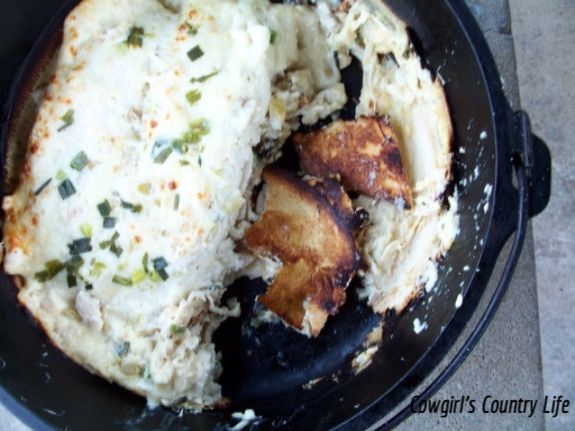
I've made several other dishes using the burger. Cheese/burger/salsa dip in the crock pot during deer season. A sort of hamburger helper... I don't make hamburger helper because I don't follow instructions that well. lol I dumped pasta, cheese sauce and burger in a skillet and it came out great.

This will be nice for quick sloppy joes or pizzas.  I'm thinking up more options.

Each pint jar holds about 1 pound of burger.


I'm happy with the way the brisket turned out and will be using it for burger again in the future.
If you give it a try, good luck!
Thanks for stopping by. :)

Sunday, November 29, 2015

A Guam Style Brisket


This is a tasty way to prepare brisket, something different and easy to make. The recipe belongs to talented friend Ruben in Guam. Ruben's blog

I start by slicing a whole packer brisket into 1/4" to 1/2" slices...


Marinated overnight in a mixture of
1/2 cup kosher salt
2 cups brown sugar
3 TBS Tender Quick
3 TBS minced ginger
1/2 cup soy sauce
4 Quarts water


I started a small fire in the bottom of the Hasty Bake cooker. Removed the cooking rack and lowered the hot coal rack to the lowest setting. Then hung the meat on the top rack...


I let the strips of meat slow smoke from 4 to 6 hours, depending on thickness. Remove them while they are still juicy and pliable..


This stuff is really tasty.


The meat is plump, juicy and so good. I bag most for the freezer but keep some in the fridge for quick meals or snacks.

I have been making this stuff for a few years now thanks to Ruben. It's one of my favorite ways to prep brisket. 

Hope everyone had a safe and happy Thanksgiving. Between deer season, ice storms and Thanksgiving, I've been keeping pretty busy. I plan on posting more pics as soon as I get them on the puter.

Thanks for stopping by!

Wednesday, November 18, 2015

Dutch Oven Chicken Enchiladas


Camping season is over for me but I have quite a few camp cooks that need to be posted. lol

This meal worked out great. I planned it before leaving home so I could make this on the first night of camping, after setting up camp.
I smoked a chicken at home, shredded and bagged it and tossed it in the ice chest.

Then at the lake I made a creamy sauce using a good dab of sour cream, cream of chicken soup, scallions, a bit of milk, shredded cheese and salt to taste.

I topped each flour tortilla with the shredded chicken, scallions, sauce and more cheese. Some were topped with black olives too.


I like my enchiladas soft so as a precaution I placed a sacrificial tortilla in the bottom of the dutch oven. Just in case!


Then placed the enchiladas on top...


I topped the first layer with sauce, cheese and scallions, then repeated with another layer...
then poured in one cup of chicken stock.


Started the fire. I didn't need many logs for this... just enough for a good bed of hot coals.


shoveled a few coals on the top...


They took about 25 to 30 minutes to get hot and bubbly...


I scooped a couple off the top...


drizzled with sriracha sauce...


They were hot, gooey, creamy and cheesy...


These tasted so good. I make them at home in the oven but I guess the smoke from the camp fire gives them a little extra something. I need to try this in my backyard. :)

The weather was nice this trip... and the moon was amazing!


It will probably be March before I go camping again. I need to find something to keep me occupied this winter so I won't go stir crazy.

Hope everyone has a great rest of the week!


I forgot to add;
The sacrificial tortilla in the bottom of the dutch oven did get crispy on the bottom...


It kept the enchiladas nice and soft.
I broke off pieces to inspect...it tasted pretty good! :)